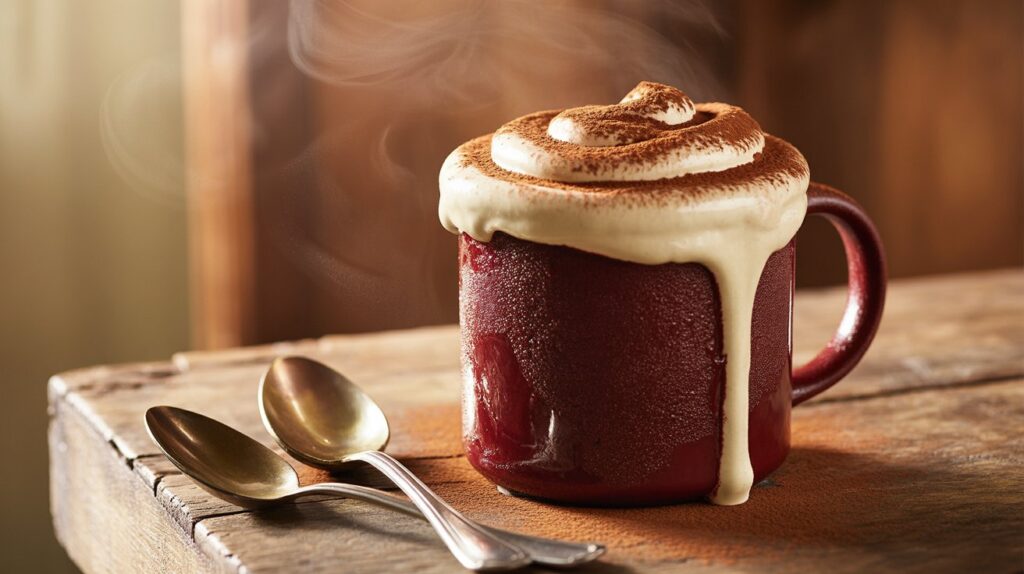
Right now, somewhere in your kitchen, a mug is feeling neglected. It’s just holding pens or sitting empty, dreaming of a greater purpose. Let’s change that. You’re about to turn that mug into a vehicle for warm, scarlet, impossibly tender cake, crowned with a swoosh of tangy frosting, in roughly the time it takes to find something decent to watch on TV. This isn’t just a mug cake. This is The Red Velvet Mug Cake for Two—perfected. No more dry pucks, no more flavorless bricks. Let’s get this right.
Why This Recipe is Awesome
First, it actually tastes like red velvet cake, not just a red-colored science experiment. We’re talking that subtle chocolate hint, the iconic tang, and a melt-in-your-mouth crumb. Second, it’s a shared moment in under 10 minutes. Impulse dessert for you and a buddy (or, you know, future-you). Third, and this is key, it’s foolproof. We’ve eliminated the common mug cake tragedies. This one rises like a champion and stays deliciously moist. Consider it your culinary cheat code.
Ingredients You’ll Need
Gather these. Precision is your friend here, but we’re not using a scale. Relax.
- 4 tbsp all-purpose flour: Spooned lightly into the tablespoon, not packed.
- 3 tbsp granulated sugar: For that essential sweetness.
- 1 tbsp unsweetened cocoa powder: Not a lot, but it’s vital for the classic flavor. Dutch-processed is a dream here.
- ¼ tsp baking powder: Our leavening lifeline.
- Small pinch of salt: Makes the flavors pop. Do it.
- 3 tbsp buttermilk: The #1 game-changer. This + cocoa = true red velvet soul. No buttermilk? See substitutions—we have a hack.
- 2 tbsp neutral oil (like vegetable or canola): Oil keeps this cake supremely moist, more reliably than butter in a microwave. Trust the science.
- ½ tsp vanilla extract: The flavor enhancer.
- ½ tsp distilled white vinegar: An extra tang boost that reacts perfectly with the baking powder.
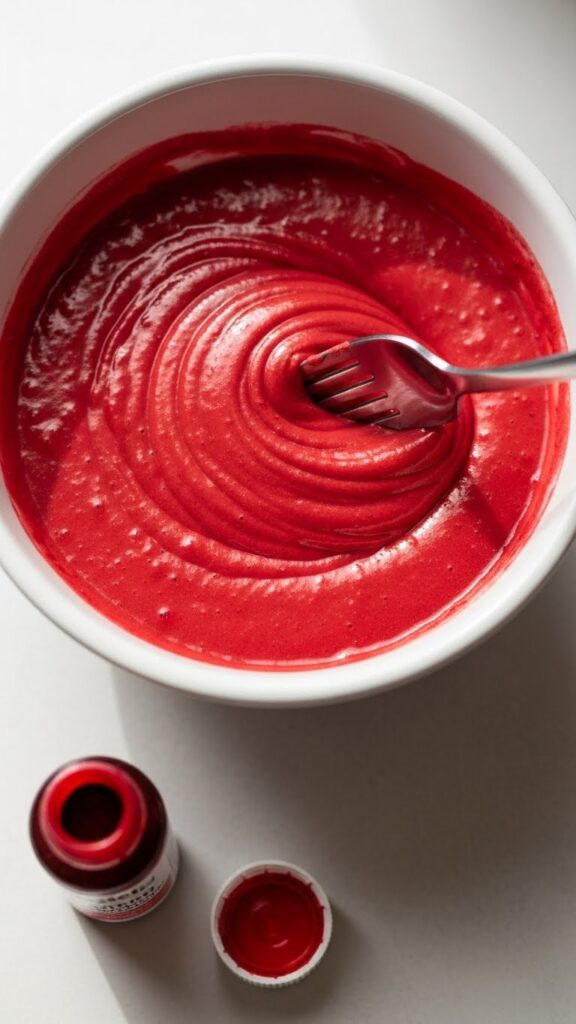
- 1 tbsp + 1 tsp red gel food coloring: Gel is non-negotiable for a vibrant, deep red without watering down your batter.
For the “That’s-the-Stuff” Frosting:
- 2 tbsp cream cheese, softened to room temp: This is the law.
- 1 tbsp unsalted butter, softened: Yep, we’re making it legit.
- 3 tbsp powdered sugar: Sifted if you’re fancy.
- Splash of vanilla extract: Because why not?
Step-by-Step Instructions
- Choose Your Vessel. Grab a large, microwave-safe mug or small bowl (at least 12 oz). Give it a very light spray with oil or a butter swipe. This is your only dish. Rejoice.
- The Dry Mix. In your mug, whisk the flour, sugar, cocoa powder, baking powder, and salt with a small fork or whisk. Get it utterly lump-free. This is the foundation of greatness.
- The Wet Mix. In a separate small bowl (or just a big spoon’s hollow in the dry stuff), combine the buttermilk, oil, vanilla, vinegar, and red gel coloring. Mix until it’s a shockingly uniform, dramatic red. This ensures no white streaks.
- Combine With Care. Pour your stunning red wet ingredients into the mug with the dry. Stir gently with a fork until just combined. A few tiny lumps are fine. Bold pro-tip: Scrape down the batter from the top 1.5 inches of the mug. This prevents those weird, dry overcooked edges.
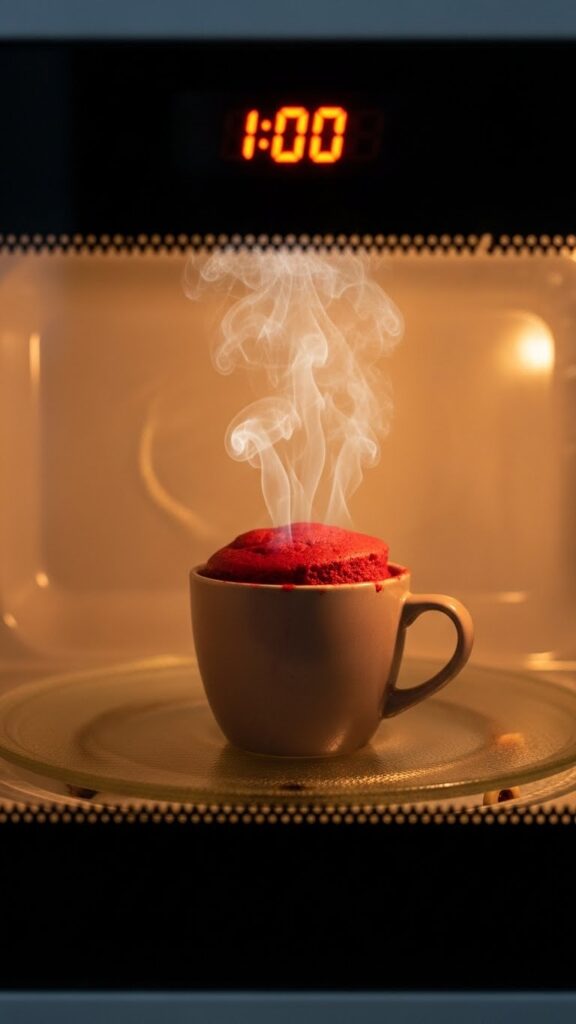
- Microwave Mastery. Place your mug in the center of the microwave. Nuke for 70 seconds on full power. Then, without opening the door, let it sit in there for 1 full minute. This carryover cooking is the secret to perfect texture. The top should be set, slightly springy to the touch, and looking glorious.
- Frost & Feast. While it rests, beat the softened cream cheese, butter, powdered sugar, and vanilla in a small bowl until smooth. Dollop it generously on your warm (not scalding) cake. Devour immediately with two spoons for maximum joy-sharing.
Common Mistakes to Avoid
- Using Liquid Food Coloring: This will give you a pink, watery batter. Gel is mandatory for the right color and texture.
- Over-mixing the Batter: You’re not building gluten for bread. Stir until combined, then STOP. Over-mixing = toughness.
- Skipping the “Rest in Microwave” Step: Impatience leads to a lava-center or dry-edge situation. The resting minute is what makes it perfectly and evenly cooked.
- Using Cold Dairy: Cold buttermilk and fridge-hard cream cheese are your enemies. Let the buttermilk sit out for 10 minutes and absolutely soften that cream cheese.
Alternatives & Substitutions
Out of something? We can pivot.
- No Buttermilk? Make your own: Add ½ tsp of that white vinegar or lemon juice to 3 tbsp of regular milk. Let it sit for 5 minutes until it curdles slightly. Boom, “buttermilk.”
- Dairy-Free? Use a plant-based milk + vinegar for the cake, and a vegan cream cheese/butter blend for the frosting.
- No Oil? Melted butter can work in a pinch, but your cake might be slightly denser. Oil is king for moisture here, IMO.
- Want a Single Serving? Halve the recipe and use a smaller mug. Microwave for 50-55 seconds, then let rest.
FAQ (Frequently Asked Questions)
- Can I make this in the oven? You’re missing the point… but fine. 350°F (175°C) in an oven-safe ramekin for 14-18 minutes. A toothpick should come out clean.
- My cake overflowed! Your mug was too small. Next time, use a bigger one or split the batter between two mugs.
- Can I make it ahead? Nope. This is a right-now, right-here dessert. It stales faster than news. Make it fresh.
- Why gel coloring? It’s more concentrated, so you get bold color without adding extra liquid that throws off the dry/wet balance. It’s a texture thing.
- Is the vinegar necessary with buttermilk? Yes! It’s the double-tang team that gives it that authentic bite and perfect rise. Don’t skip it.
- Can I add chocolate chips? A small sprinkle of mini chips on top before microwaving is fantastic. Don’t stir them in, or they’ll sink.
🔥 Recommended Baking & Kitchen Essentials
Here are a few of my favorite tools that make baking (and biscuit-making!) easier, faster, and way more fun.
1. BLACK+DECKER Crisp ’N Bake Air Fry Toaster Oven
Crisps, toasts, bakes, and air fries — all in one compact countertop oven. Perfect for quick biscuits, snacks, and weeknight cooking.
👉Check it out on Amazon
2. CHEFMAN Digital Air Fryer + Rotisserie (XL 10L)
A true all-in-one appliance — air fry, roast, bake, dehydrate, and rotisserie family-size meals with ease.
👉See today’s price on Amazon
3. 5-Piece Pastry & Biscuit Cutter Set
Everything you need for perfect biscuits: stainless-steel cutters, dough scraper, pastry blender, and a baking mat — beginner friendly and super durable.
👉Grab it on Amazon
4. Nordic Ware Naturals Aluminum Half Sheet Pans (2-Pack)
Professional-quality sheet pans that brown beautifully, never warp, and last a lifetime — essential for any baking lover.
👉View it on Amazon
5. Amazon Basics Nonstick 12-Cup Muffin Pans (Set of 2)
Reliable nonstick pans for muffins, cupcakes, egg bites, and more — even heating, easy cleanup, and great value.
👉Get it on Amazon
6. Stand Mixer (5–6 Quart)
Makes mixing doughs and batters effortless during holiday baking.
👉Grab it here on Amazon
Disclosure:
As an Amazon Associate, I earn from qualifying purchases. This means if you click on one of the product links and make a purchase, I may receive a small commission at no extra cost to you. I only recommend products I personally use and love.
Final Thoughts
So there you have it. The last red velvet mug cake recipe you’ll ever need. It’s fast without being a compromise, indulgent without being a project. You’ve got the secrets—the buttermilk, the gel color, the sacred rest time. Now go reclaim those mugs from their boring lives. Whip this up, share a spoon, and savor the look of pure surprise when they realize a microwave made this. You didn’t just make dessert. You nailed it.