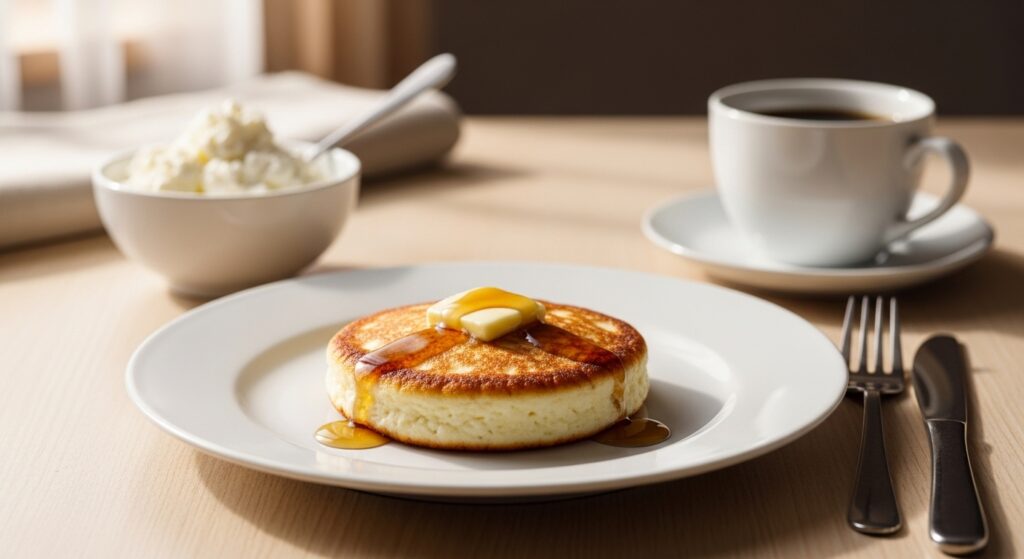
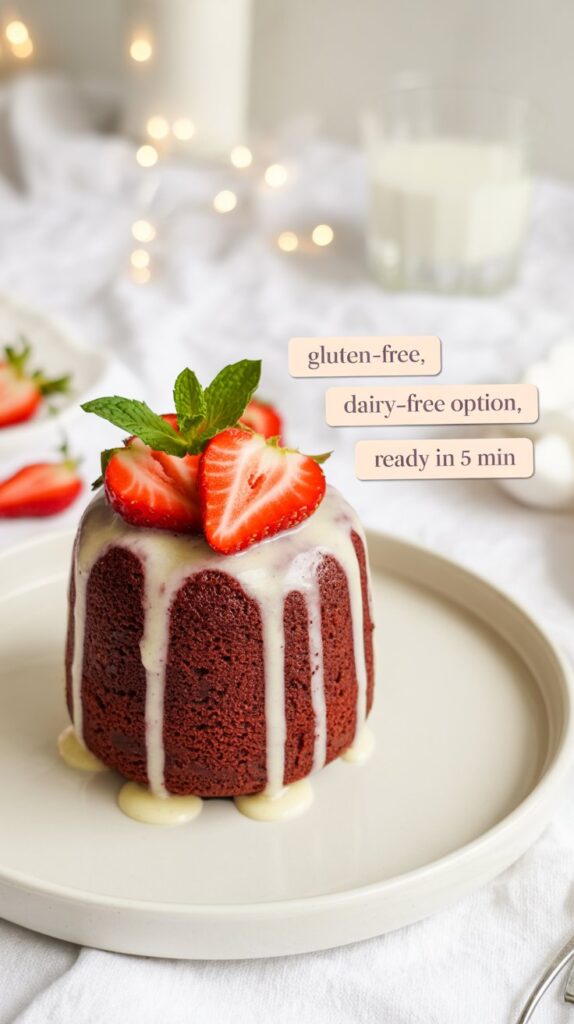
Red Velvet Mug Cake for Two Gluten-Free: Your 5-Minute Sweetheart Treat
You get that late-night craving for something decadent and romantic, like red velvet cake. But then you remember: you’re avoiding gluten. Or your partner is. The idea of finding a gluten-free bakery or baking a whole special cake feels impossible. So you settle for a piece of fruit, a little disappointed that your cozy night in is missing that special, shareable dessert.
What if you could have a warm, gooey, authentic-tasting red velvet cake on the table in five minutes, and it’s naturally gluten-free?
You can. This recipe for a Red Velvet Mug Cake for Two Gluten-Free is about to become your favorite kitchen secret. It’s more than a quick fix; it’s a safe, delicious, and incredibly romantic solution that doesn’t require any weird ingredients or complicated swaps. Whether it’s for Valentine’s Day, Galentine’s, or just a Tuesday, this cake proves that dietary needs don’t have to mean missing out on life’s sweetest moments.
Why This Gluten-Free Mug Cake Actually Works
Gluten-free baking can be tricky, but the microwave is its secret weapon. Here’s why this recipe is foolproof:
- No Gumminess: Many gluten-free baked goods rely on xanthan or guar gum, which can create a strange texture. Our recipe uses a simple, tested blend that creates a perfectly tender crumb.
- Authentic Flavor: We use real cocoa and a touch of vinegar to get that classic, slightly tangy red velvet taste—not just a red-colored cake.
- Shared Safely: Made in one bowl with certified gluten-free ingredients, it’s a dessert you can both enjoy without worry.
- Incredibly Fast: From pantry to plate in under 5 minutes. The microwave cooks it quickly and evenly, avoiding the drying-out that can sometimes happen with gluten-free oven baking.
Your Simple, Safe Shopping List
The best part? You probably have most of this in your pantry already. Just double-check labels for certified gluten-free stamps.
For the Mug Cakes:
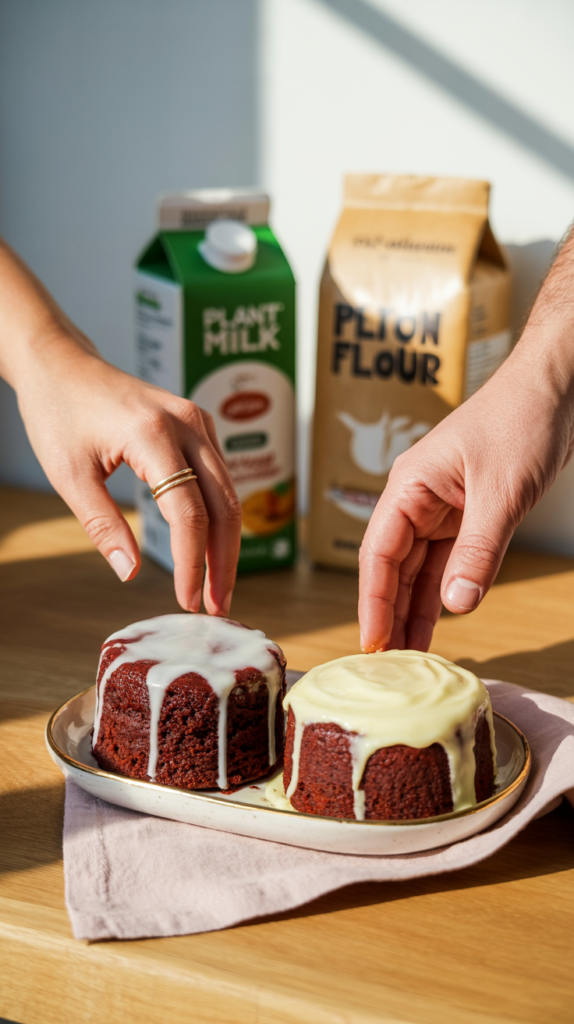
- 6 tablespoons gluten-free 1:1 baking flour (like Bob’s Red Mill or King Arthur)
- 4 tablespoons granulated sugar
- 1 tablespoon unsweetened cocoa powder (natural, not Dutch-process)
- ¼ teaspoon baking powder
- Pinch of salt
- 4 tablespoons milk of choice (dairy, almond, oat)
- 2 tablespoons vegetable oil or melted butter (or coconut oil)
- ½ teaspoon pure vanilla extract
- ½ teaspoon white vinegar or apple cider vinegar
- 1-2 teaspoons red food coloring (gel is best for vibrant color)
For the Dairy-Free Cream “Cheese” Drizzle (Optional):
- 2 tablespoons dairy-free cream cheese, softened
- 1 tablespoon powdered sugar
- 1-2 teaspoons milk of choice
- ¼ teaspoon vanilla extract
For Serving:
- A dusting of powdered sugar, fresh berries, or dairy-free whipped cream.
Step-by-Step: How to Make Your Gluten-Free Mug Cake
Follow these simple steps for a perfect, safe treat every time.
Step 1: Choose Your Mugs
Pick two microwave-safe mugs that hold at least 10-12 ounces. Ceramic works best. Give the insides a very light coating of oil or non-stick spray.
Step 2: Whisk the Dry Ingredients
In a small bowl, whisk together the gluten-free flour, sugar, cocoa powder, baking powder, and salt. This is crucial for gluten-free baking to ensure the leavening is evenly distributed and you avoid any pockets of dry flour.
Step 3: Combine the Wet Ingredients
To the same bowl, add the milk, oil, vanilla, vinegar, and red food coloring. Stir vigorously with a fork or small whisk until you have a smooth, lump-free, and vividly red batter. Don’t be afraid to mix well here!
Pro-Tip: Gel food coloring gives the richest red hue without adding extra liquid, which is important for gluten-free batter consistency.
[Check out our favorite set of gluten-free, vegan-friendly gel food colors here.]
Step 4: Divide, Conquer, and Microwave
Split the batter evenly between your two mugs. Each should be about half full. Microwave them one at a time for 60-75 seconds on high power.
- Start with 60 seconds. The cake is done when the top looks dry and springs back lightly to the touch. A few moist crumbs on a toothpick are okay—it will keep cooking from residual heat.
- Gluten-Free Note: These cakes can be a touch more delicate, so a slightly under-microwaved cake is better than a dry, overdone one.
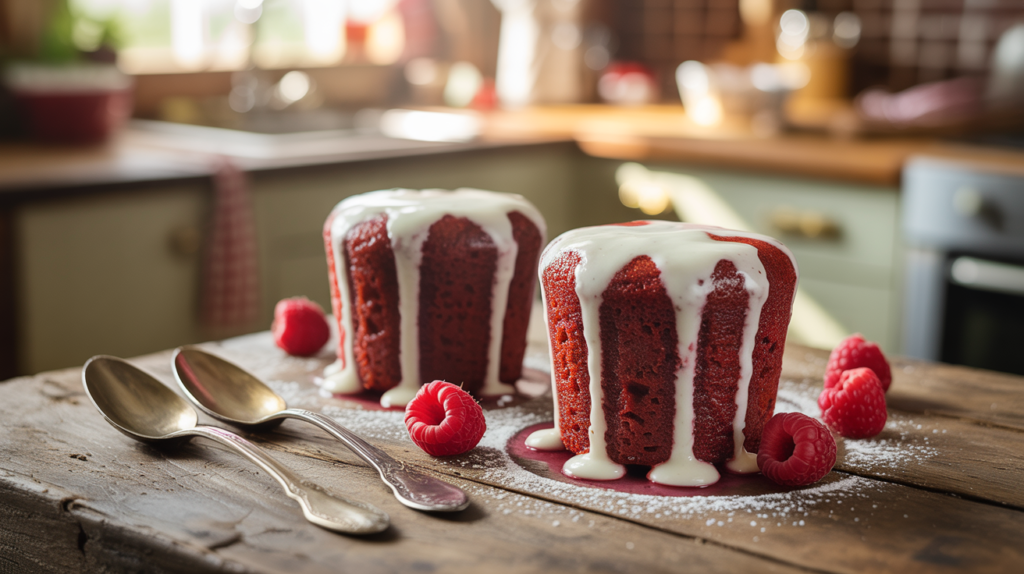
Step 5: Make the Drizzle (If Using)
While the cakes cool for a minute, make the quick drizzle. In a tiny bowl, mash the softened dairy-free cream cheese with a fork. Add powdered sugar, a teaspoon of milk, and vanilla. Stir until smooth, adding more milk drop by drop until it’s drizzle-able.
Step 6: Serve Warm & Gooey!
Drizzle the warm cakes with your glaze, add your toppings, and serve immediately with two spoons. The magic is in that first warm, soft bite.
The Science Behind the Gluten-Free Success
Why does this work when other mug cakes fail?
- The Vinegar: This reacts with the baking powder to give a big rise and tender crumb, compensating for the lack of gluten.
- The Right Flour: A trusted 1:1 gluten-free all-purpose flour is essential. It’s a pre-mixed blend designed to replace wheat flour cup-for-cup, containing the starches and binders you need.
- The Microwave: The intense, quick steam helps set the structure fast, creating a moist cake.
Customize Your Allergen-Friendly Treat
This recipe is a fantastic base for all kinds of diets.
- Make it Vegan Too: Use plant-based milk, oil, and dairy-free cream cheese. The recipe is already egg-free!
- Add Chocolate Chips: Fold in a tablespoon of gluten-free mini chocolate chips into the batter.
- Orange Twist: Add ¼ teaspoon of orange zest to the batter for a chocolate-orange flavor.
- Sugar-Free Option: Swap the granulated sugar for a monk fruit or erythritol blend that measures 1:1 like sugar.
🔥 Recommended Baking & Kitchen Essentials
Here are a few of my favorite tools that make baking (and biscuit-making!) easier, faster, and way more fun.
1. BLACK+DECKER Crisp ’N Bake Air Fry Toaster Oven
Crisps, toasts, bakes, and air fries — all in one compact countertop oven. Perfect for quick biscuits, snacks, and weeknight cooking.
👉Check it out on Amazon2. CHEFMAN Digital Air Fryer + Rotisserie (XL 10L)
A true all-in-one appliance — air fry, roast, bake, dehydrate, and rotisserie family-size meals with ease.
👉See today’s price on Amazon3. 5-Piece Pastry & Biscuit Cutter Set
Everything you need for perfect biscuits: stainless-steel cutters, dough scraper, pastry blender, and a baking mat — beginner friendly and super durable.
👉Grab it on Amazon4. Nordic Ware Naturals Aluminum Half Sheet Pans (2-Pack)
Professional-quality sheet pans that brown beautifully, never warp, and last a lifetime — essential for any baking lover.
👉View it on Amazon5. Amazon Basics Nonstick 12-Cup Muffin Pans (Set of 2)
Reliable nonstick pans for muffins, cupcakes, egg bites, and more — even heating, easy cleanup, and great value.
👉Get it on Amazon6. Stand Mixer (5–6 Quart)
Makes mixing doughs and batters effortless during holiday baking.
👉Grab it here on AmazonDisclosure:
As an Amazon Associate, I earn from qualifying purchases. This means if you click on one of the product links and make a purchase, I may receive a small commission at no extra cost to you. I only recommend products I personally use and love.
Troubleshooting & FAQs
Q: My cake was gummy or dense. What happened?
A: This usually means it was slightly over-microwaved. Gluten-free flours continue to absorb liquid as they cool. Next time, reduce the time by 10 seconds. Also, ensure your baking powder is fresh.
Q: Can I use almond flour or coconut flour instead?
A: No, they are not direct substitutes. Almond flour is too dense and oily, and coconut flour absorbs liquid like a sponge. A pre-mixed 1:1 gluten-free flour blend is required for this specific recipe to work.
Q: How can I make this in the oven?
A: Yes! Bake the batter in two greased 6-ounce ramekins in a preheated 350°F (175°C) oven for 15-18 minutes, until a toothpick comes out clean.
Q: My cake overflowed the mug!
A: Your mugs might be too small, or you may have overfilled them. Mugs should hold at least 10 ounces. Fill only halfway with batter.
Q: Is the vinegar taste noticeable?
A: Not at all! It reacts with the baking powder and fades, leaving behind just the classic, subtle tang that defines red velvet cake.
Conclusion: Share the Sweetness, Without the Gluten
This Red Velvet Mug Cake for Two Gluten-Free recipe is more than just a dessert; it’s a tool for connection and joy. It removes the barriers that often come with dietary restrictions, offering a safe, speedy, and utterly delicious way to create a special moment. Whether you’re celebrating love, friendship, or simply the end of a long day, this warm, shareable treat ensures that everyone gets to indulge in the simple, profound pleasure of a homemade dessert.