Affiliate Disclosure
At Easy 5-Ingredient Meals, we believe in honesty, transparency, and recommending only products we truly love and use. Some of the links on this site may be Amazon affiliate links, which means that if you click through and make a purchase, we may earn a small commission — at no additional cost to you.
Hey there, holiday hosts!
Let’s be honest: After you’ve wrestled with the turkey, mashed the potatoes, and perfected your gravy, the thought of cutting five different pies can feel like another full-time job. You want a dessert spread that wows, but you also want to actually enjoy your holiday.
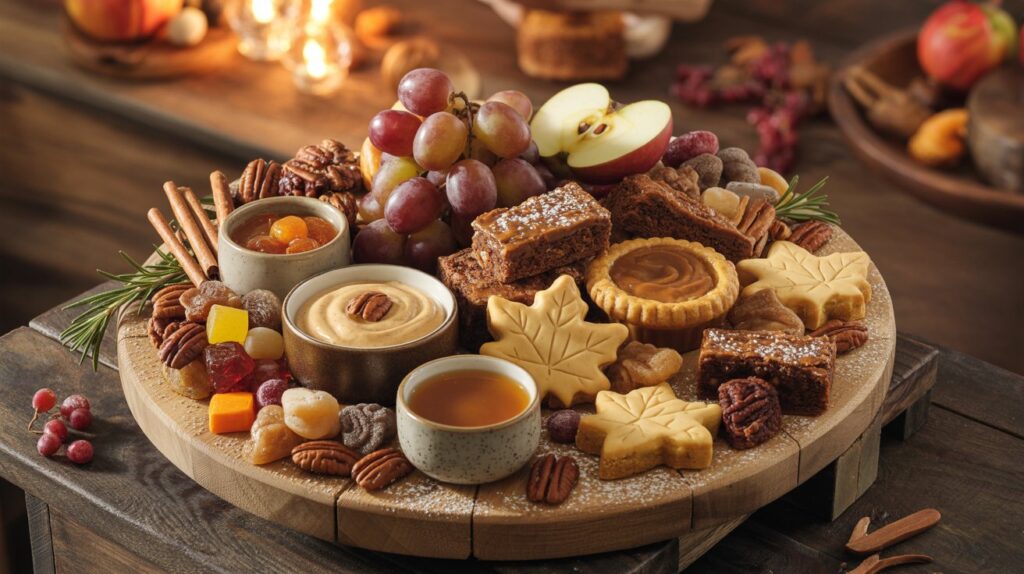
Enter the Dessert Charcuterie Board.
This isn’t just a dessert; it’s a beautiful, interactive grazing platter that lets your guests pick and choose their favorites. It transforms your post-dinner serving station from a frantic counter-mess into a stunning, harvest-themed centerpiece. Best of all? It’s almost entirely assembly, not baking.
Ready to elevate your Thanksgiving finale with minimal fuss and maximum “oohs and aahs”? Let’s dive into creating a Thanksgiving dessert board that will look gorgeous on your table.
Step 1: Choosing Your Foundation (The Board)
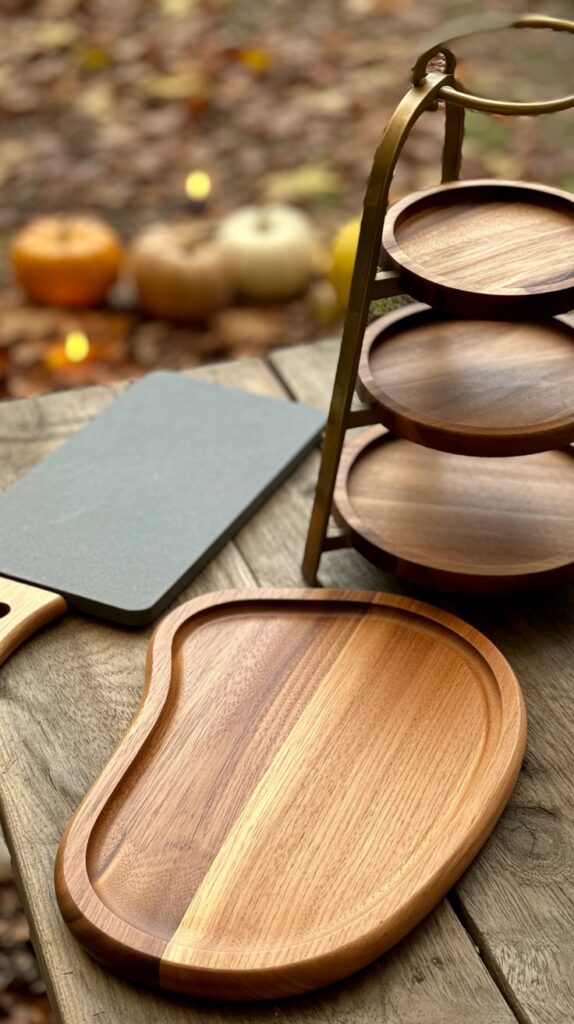
The board itself is the canvas for your edible masterpiece. Don’t limit yourself to a classic wooden charcuterie board; think about size, shape, and color.
The Basic Board Options
- The Classic Wooden Board: A large, rustic wooden plank or cutting board (at least 18 times 24 inches for a crowd) provides a beautiful, natural warmth that screams “fall.”
- The Slab of Slate or Marble: For a more modern, elegant, or high-contrast look, a piece of slate or marble is perfect. The cool surface is also great for chocolate items.
- The Tiered Stand: Using a two- or three-tiered cake stand adds incredible vertical visual interest. This is a powerful trick for making a smaller board feel more abundant and Pinterest-worthy!
Pro Tip for a Bountiful Look: Don’t worry if your board has a “lip” or raised edge. Boards with edges are excellent for containing small items like nuts and candies when the board gets crowded.
Step 2: The Main Attractions (Traditional Treats)
The secret to a great Thanksgiving board is hitting those nostalgic flavor notes without serving a dozen huge slices of pie. Focus on small, manageable portions.
The Thanksgiving Trio (Miniaturized)
These are the essentials that signal “Thanksgiving” to your guests:
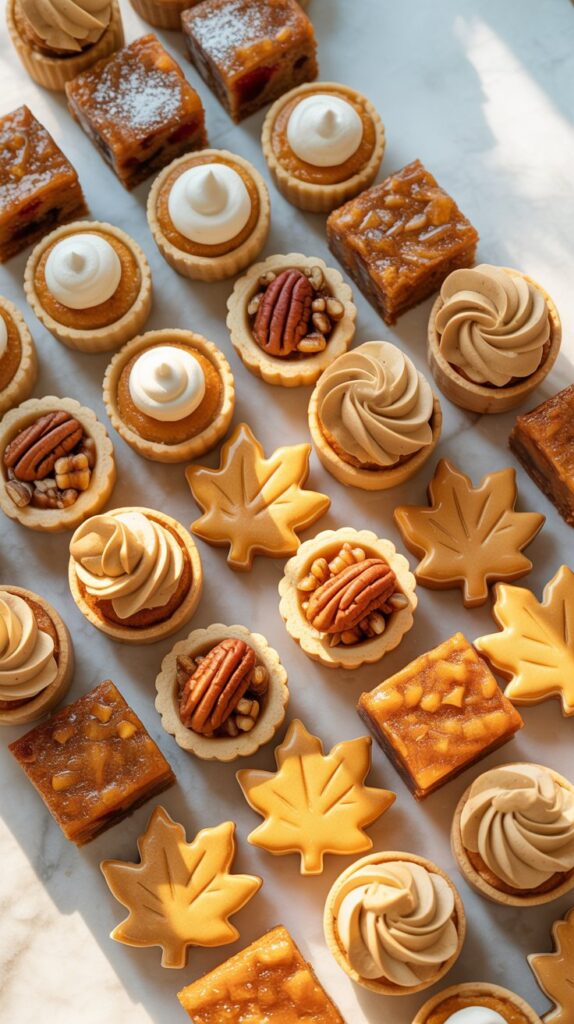
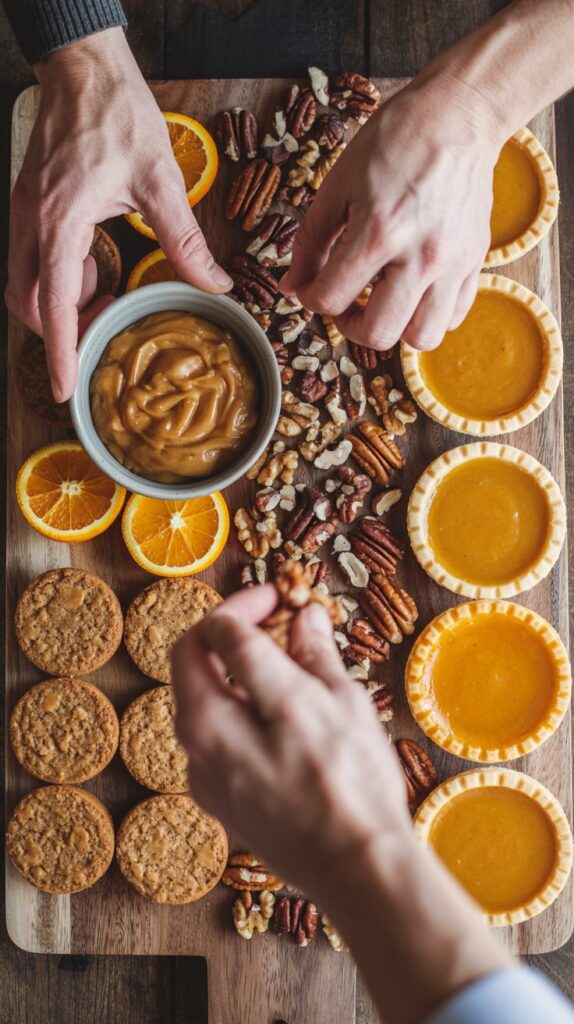
- Mini Pie Bites: Instead of full pies, use miniature tarts or small 4-inch pies in classic flavors: Pumpkin, Pecan, and Apple. You can buy these pre-made to save time, or use a muffin tin for homemade mini versions.
- Cookie Comforts: Include cookies with warm spices. Gingersnaps, Maple Leaf Cookies (a seasonal favorite!), and Pumpkin Spice Snickerdoodles are perfect.
- Brownie/Blondie Bites: Cut brownies or pumpkin blondies into small, 1-inch squares. They add a rich, dark color contrast.
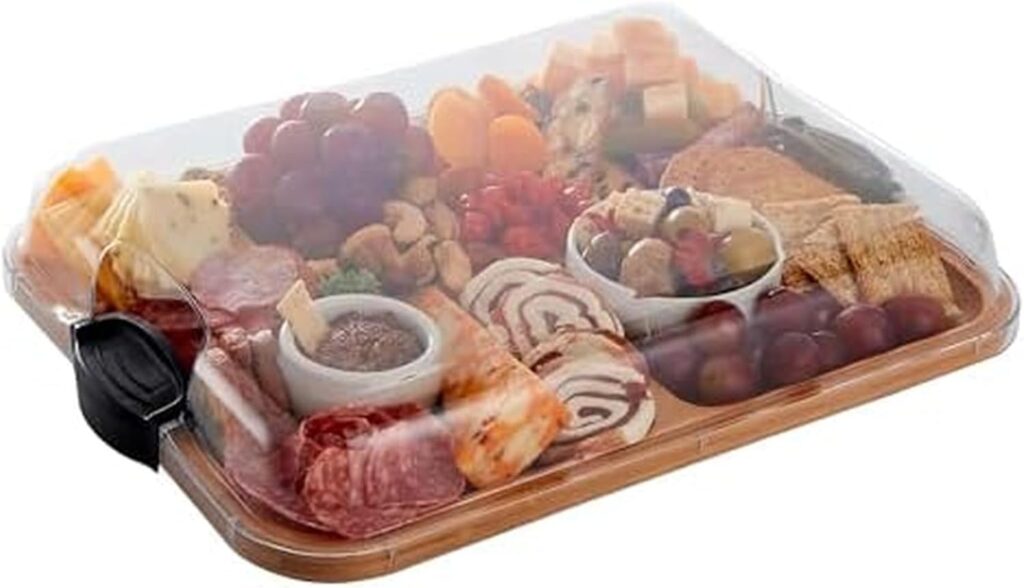
Farberware Build-A-Board Bamboo Cutting Board with Built-In Compartments & Clear Locking Lid
The Farberware “Build a Board” is an all-in-one solution for food prep and presentation. Cut and prep on one side; flip to reveal 6 compartments ideal for charcuterie boards, snack trays, or veggie platters
Don’t Forget the Dip!
Every great board needs a couple of anchors for dipping, spread, and moisture. Place these in small, decorative bowls first, as they will define your layout.
- Pumpkin Cream Cheese Dip: A simple mix of cream cheese, canned pumpkin (not pie filling!), brown sugar, and a touch of pumpkin pie spice.
- Salted Caramel Sauce: The perfect decadent drizzle for apples, cookies, or mini pies.
- Nut Butter or Cookie Butter: A non-traditional but delicious pairing for fruit and pretzels.
Step 3: Texture and Crunch (The Fillers)
This section is all about creating that inviting, overflowing look and balancing the rich, creamy desserts with some lighter, satisfying bites. Texture is key for an interesting board!
| Category | Recommended Items | Why They Work |
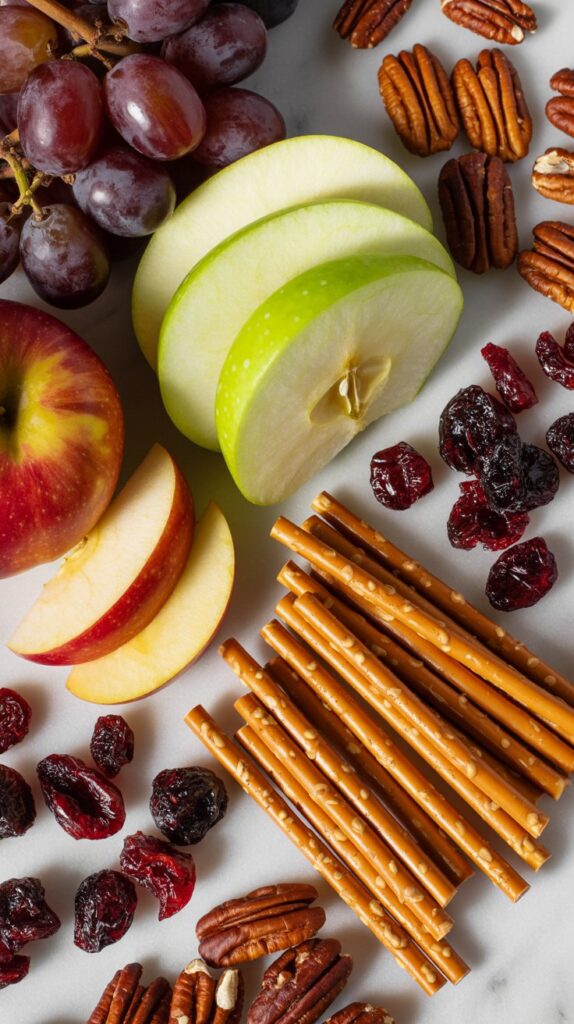
| Fresh Fruit | Apple Slices (Honeycrisp, Granny Smith), Pear Slices, Red Grapes, Pomegranate Seeds. | Adds bright color, freshness, and a tart contrast to the sweetness. Remember to coat apple/pear slices in lemon juice to prevent browning! |
| Dried Fruit | Dried Cranberries, Dried Apricots, Apple Chips. | Adds deep, autumnal color and a chewy texture. |
| Nuts | Candied Pecans, Glazed Walnuts, Cinnamon Almonds. | The ultimate crunch factor and a nod to traditional Thanksgiving desserts. Place these in a small bowl or heap them into a corner. |
| Salty/Crunchy | Pretzel Rods, Cinnamon Sugar Pita Chips, Biscotti. | Perfect dippers for your sauces and a necessary salty counterpoint to all the sugar. |
Step 4: The Visual Pop (The Details)
This is the fun part! These little details fill in the gaps and turn a collection of food into a cohesive, stunning piece of holiday art.
Colorful Candies & Chocolates
- Fall-Themed Chocolates: Look for leaf-shaped chocolates or seasonal foil-wrapped kisses.
- Mellowcreme Pumpkins/Candy Corn: Use these sparingly to scatter into empty spaces for a festive orange and yellow burst.
- Chocolate-Covered Pretzels: These provide vertical height and a delightful sweet-salty crunch.
Garnishes for a Professional Touch
These are the final touches that make your board look “finished” and ready for its close-up:
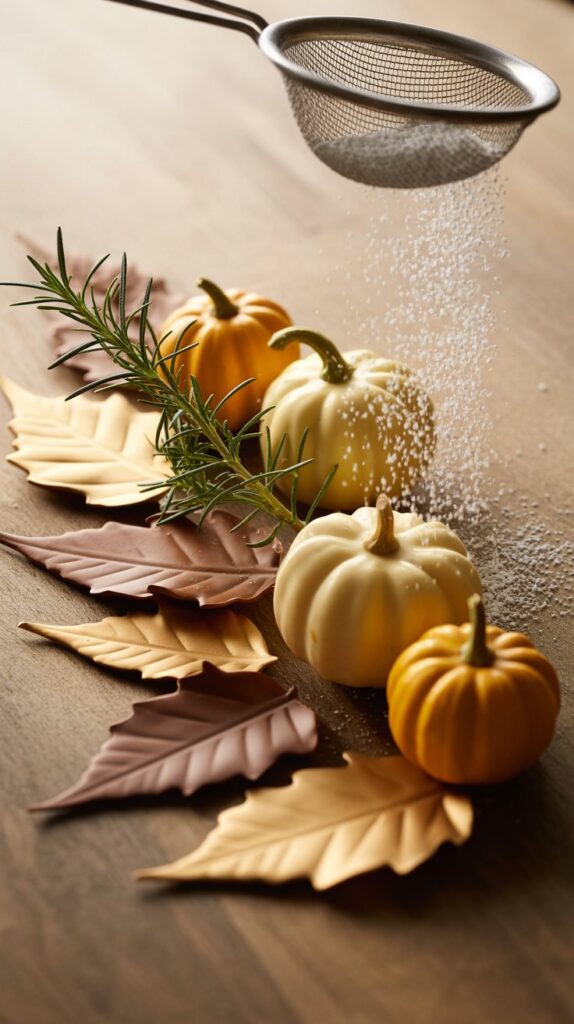
- Fresh Rosemary or Mint Sprigs: Tuck a few small sprigs of rosemary between the pies and cookies. The dark green adds a beautiful pop of color and a fresh, warm fragrance.
- Mini Gourds or Decorative Pumpkins: Place one or two tiny, clean decorative pumpkins right onto the board to reinforce the holiday theme.
- Dusting of Powdered Sugar: Right before serving, use a small sieve to lightly dust the entire board (avoiding the fruit) with powdered sugar. It looks like fresh, gentle snow and highlights the texture of your desserts.
Step 5: Assembly Tactics (The “How-To” for a Bountiful Look)
Arranging a dessert board is less about precision and more about abundance. Follow these three simple steps for a gorgeous, overflowing effect:
- Anchor Your Board (Bowls and Large Items):
- Place your small bowls of dips and spreads first. They are the anchor points around which everything else will flow.
- Next, arrange your largest items—the mini pies and sliced pumpkin rolls. Place them diagonally or in a circular pattern to create visual pathways.
- Cluster the Middles (Cookies and Fruit):
- Cluster the mid-sized items, like cookies, brownies, and large slices of fruit.
- Always break up colors and textures. Don’t put the brown gingerbread next to the brown brownie. Place bright red apples next to a white macaron or a dark chocolate piece.
- Fill the Gaps (The Scatters and Garnishes):
- This step is the most important for the “bountiful” aesthetic. Use nuts, candies, dried cranberries, and pomegranate seeds to fill in every empty space. The goal is to make the board look so full, you can barely see the wood underneath.
- Add your final garnishes (rosemary, mini pumpkins, powdered sugar).
Make-Ahead Strategy (Save Your Sanity)
The dessert board is your holiday secret weapon because nearly everything can be done ahead of time.
- 1-3 Days Before: Prepare your dips, bake or purchase your cookies and mini pies, and chop all your nuts. Store all components in airtight containers.
- Morning of Thanksgiving: Slice your apples and pears, coating them in lemon juice (or a mix of lemon juice and water) to keep them fresh, and store them in the fridge.
- 30 Minutes Before Serving: This is assembly time! Take everything out and follow the three-step assembly process. The fastest assembly is the freshest board!
By following this easy guide, you’ll ditch the dessert stress and serve a truly unforgettable, interactive, and beautifully styled Thanksgiving feast finale. Happy Grazing!