Affiliate Disclosure
At Easy 5-Ingredient Meals, we believe in honesty, transparency, and recommending only products we truly love and use. Some of the links on this site may be Amazon affiliate links, which means that if you click through and make a purchase, we may earn a small commission — at no additional cost to you.
Effortless Entertaining: An Easy Thanksgiving Dessert Charcuterie Board for Beginners
Hey there, first-time hosts and busy bees!
If you’re hosting Thanksgiving this year, you already have a million things on your mind: the turkey, the timing, the seating chart. The last thing you need is a stressful dessert situation.
But what if I told you the most show-stopping, photo-worthy dessert you could make requires zero baking skills and takes only 20 minutes of actual assembly time?
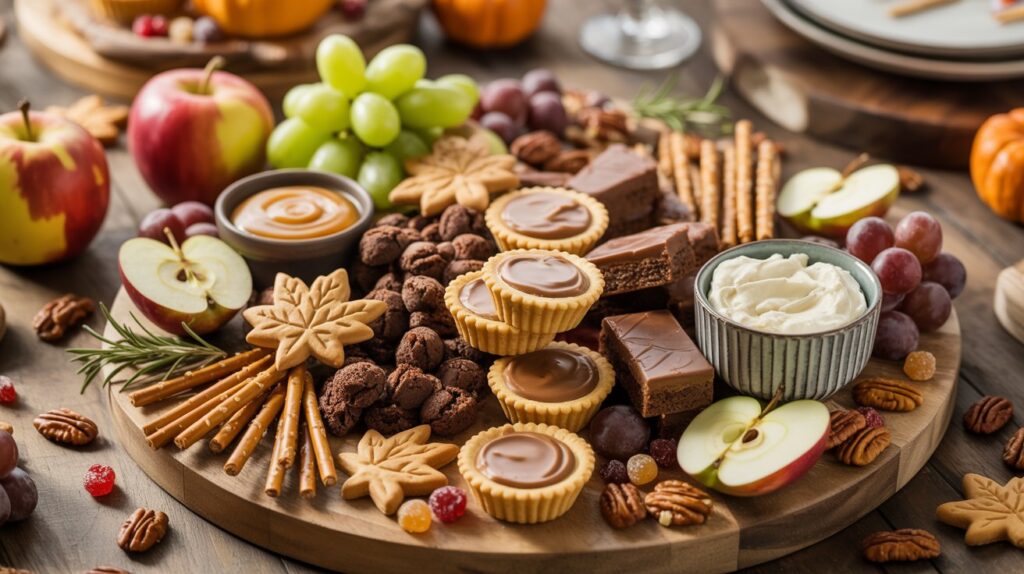
That’s the magic of the Easy Thanksgiving Dessert Charcuterie Board. It replaces the fuss of traditional multi-pie slicing with a beautiful, customizable grazing platter. This board is perfect for beginners because it relies almost entirely on smart store-bought shortcuts.
Ready to create a beautiful, effortless finale that looks professionally styled? Let’s build your board.
Step 1: The Shopping List (All Store-Bought & Simple!)
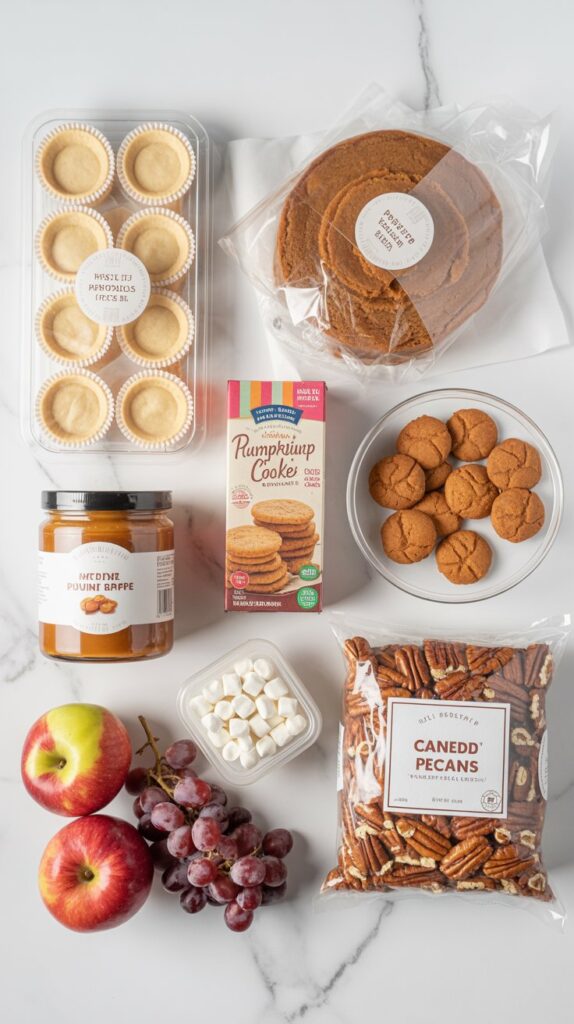
The secret weapon of this beginner board is leaning heavily on quality, pre-made items. We’ll break down the 5 key categories you need for maximum flavor and visual appeal.
The Main “Pie” Components (Focus on Mini)
You still need those classic Thanksgiving flavors, but in bite-sized form!
- Mini Pie Tarts: Grab a box of small, store-bought tarts in Pumpkin, Apple, or Pecan. You can often find variety packs or use mini muffin tins for a super-simple upgrade.
- Pumpkin Roll or Loaf Cake: Buy a pre-made pumpkin roll or pound cake. Slice it thinly and fan the pieces out—it looks incredibly elegant with zero effort.
- Brownie or Blondie Bites: Buy a tray of pre-cut brownies or fudge, or use a box mix and cut them into small 1-inch squares.
The Essential Dips (The Anchor)
Use two or three small decorative bowls to hold these creamy textures.
- Caramel Sauce: Store-bought jar is perfect. This is a must-have dipper for apples and pretzels.
- Simple Sweetened Cream Cheese: Mix 4 oz of softened cream cheese with 1 tablespoon of maple syrup and a pinch of cinnamon. It’s an easy dip for gingersnaps or fruit.
- Nutella or Cookie Butter: A universally loved spread for dipping and adding rich flavor.
The Crunch Factor (Crackers & Cookies)
- Gingersnaps or Speculoos Cookies: Their spicy warmth is the classic fall pairing.
- Maple Leaf Cookies: A festive, easy win often found at large retailers.
- Pretzel Rods or Crisps: Essential for the sweet and salty balance.
- Biscotti or Wafer Rolls: Adds great height and varied texture.
Fresh & Dried Fruit (The Color Contrast)
These items are your friends—they add bright colors and healthy freshness!
- Red & Green Apple Slices: Use a mix of colors like Gala and Granny Smith. (See Pro Tip below to keep them fresh!)
- Red Grapes: Keep them on the vine in small clusters for a dramatic, natural look.
- Dried Apricots & Cranberries: Scatter these jewel-toned treats liberally for color.
The Scatter & Garnish (Filler Fun)
These small items fill in the gaps and give your board that abundant, professional “grazing table” look.
- Candied or Spiced Pecans/Walnuts: Buy them pre-candied or toast your favorite nuts with a sprinkle of cinnamon and sugar.
- Fall-Themed Candies: A small handful of foil-wrapped chocolates or seasonal M&M’s.
- Miniature Marshmallows: Excellent for filling small corners and adding a soft texture.
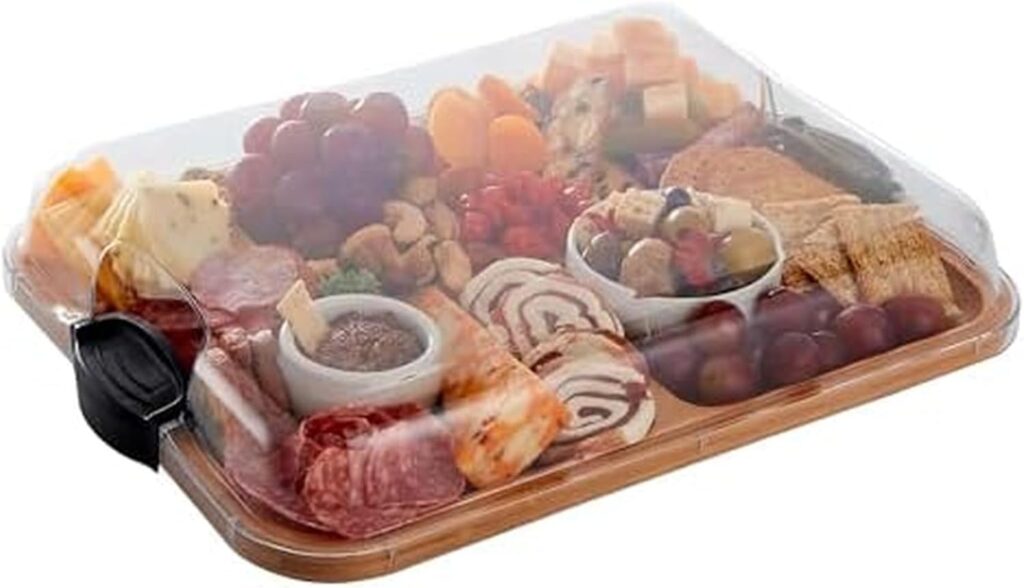
Farberware Build-A-Board Bamboo Cutting Board with Built-In Compartments & Clear Locking Lid
The Farberware “Build a Board” is an all-in-one solution for food prep and presentation. Cut and prep on one side; flip to reveal 6 compartments ideal for charcuterie boards, snack trays, or veggie platters.
⏱️ Your 1-Hour Thanksgiving Dessert Board Timeline
This schedule starts right as your guests are finishing their savory plates and moving into the post-dinner lull.
| Time Slot | Action | Why It Matters for an Easy Board |
| T-Minus 60 Minutes | Clear the Prep Area & Prep Fruit | Clear a dedicated space on your counter or table. Slice all remaining fresh fruit (apples, pears). Don’t forget the lemon juice bath to prevent browning! Place the sliced fruit back into an airtight container. |
| T-Minus 45 Minutes | Gather Components & Equipment | Pull all pre-made components (cookies, cakes, nuts, dips) out of the fridge/pantry. Grab your board, small bowls, and garnishes. Set them near your assembly space. |
| T-Minus 30 Minutes | The Anchor Placement (Bowls) | Place your small bowls of dips (caramel, Nutella, cream cheese mix) onto the board first. These are the anchors that define your layout. |
| T-Minus 25 Minutes | The Structure (Large Items) | Place your mini pies, sliced pumpkin roll, and stacks of cookies onto the board, using the bowls as natural stopping points. This sets the framework. |
| T-Minus 15 Minutes | The Flow (Clusters & Contrast) | Cluster the medium-sized items: groups of brownies, large pretzels, and the fanned slices of fresh fruit. Remember the golden rule: alternate colors (red next to brown, white next to green). |
| T-Minus 5 Minutes | The Fill & Garnish (The Finale) | This is the final 5 minutes of power assembly! Use the smallest items (candied nuts, dried cranberries, mini candies) to fill every single gap on the board. |
| T-Minus 1 Minute | Final Touches | Tuck in a few rosemary sprigs for aroma. Scatter a few pomegranate seeds. Give the board a light dusting of powdered sugar. |
| SERVE! | Present the Board | Carry your masterpiece to the serving area. The entire family is now focused on the dessert and not the dishes! |
🔑 Host Tip for a Seamless Transition
While your board is being assembled (T-Minus 30 to 15 minutes), assign a trusted family member (or yourself!) the simple task of clearing the main dinner plates. By the time the table is mostly cleared, the board is ready to appear, creating a swift and elegant shift from dinner to dessert without a long, awkward wait.
Step 2: The Easiest Assembly Method (The Beginner’s Guide)
Forget complex arrangements. We use a simple Anchor, Cluster, Fill method that guarantees a beautiful, abundant board every time.
Step 2A: The Anchors (Bowls First!)
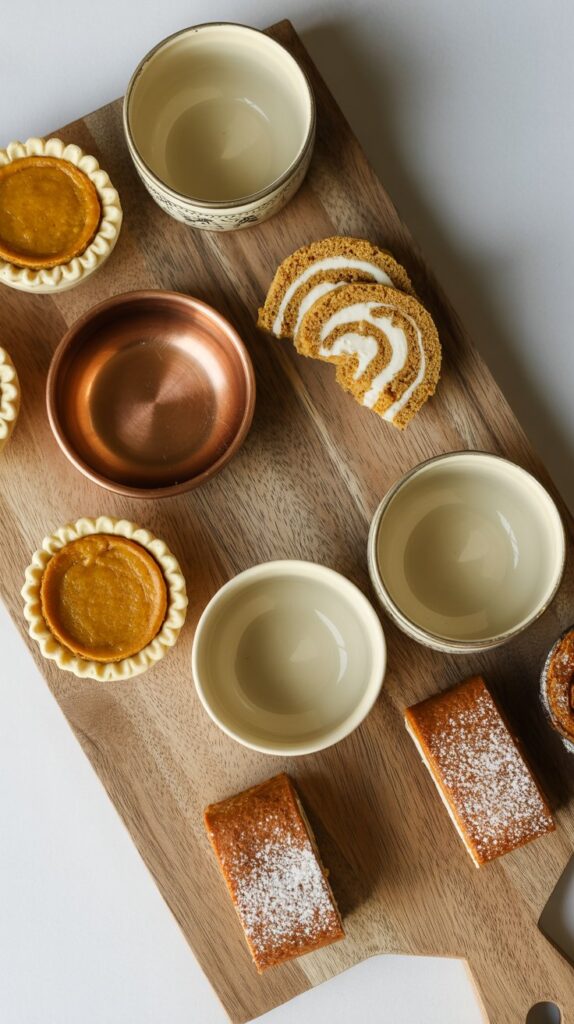
- Place Your Board: Start with your cutting board or serving platter on the counter. Don’t worry about size—just make sure it’s clean and dry.
- Position the Bowls: Take your small bowls of caramel sauce, cream cheese dip, and Nutella, and place them on the board first. These are your “anchors.” Space them out so they create natural divisions on your board.
- Add Largest Items: Now, place your largest items (the mini pies and sliced pumpkin roll) next to the bowls. Let them touch the bowls; we want everything to look connected and overflowing.
Anchor ➡️ Large Items ➡️ Structure
Step 2B: The Clusters (Texture & Contrast)
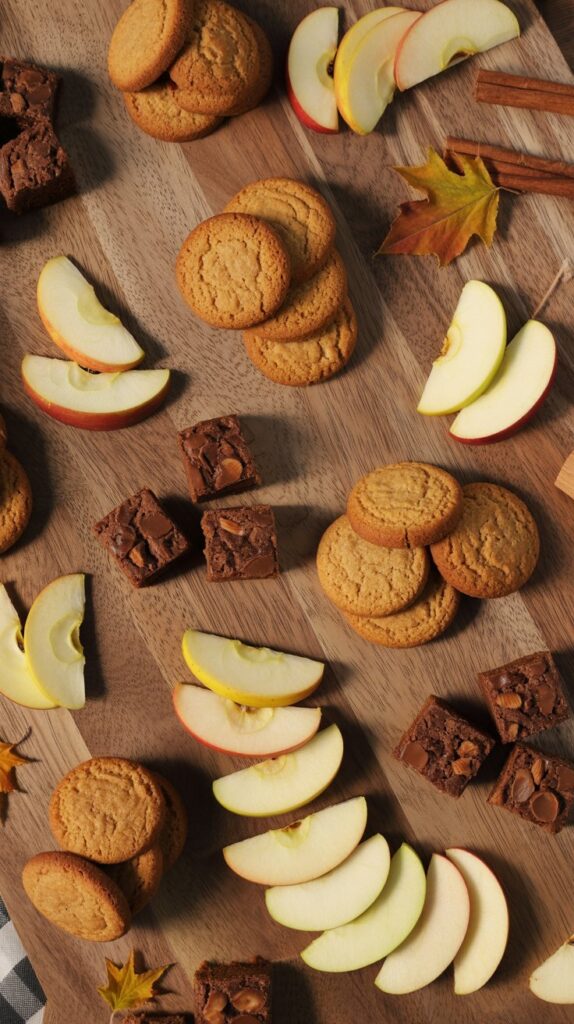
- Create Piles: Group your cookies and brownie bites into small clusters or overlapping stacks. Remember to vary the height—stacking cookies vertically adds dimension.
- Alternate Color and Texture: This is the most important visual trick: Never put two items of the same color or texture next to each other.
- Place a dark brown brownie pile next to bright red apple slices.
- Put the flat Maple Leaf cookies next to the tall, round pretzel rods.
- Fan the Fruit: Group your fresh apple and pear slices and fan them out in a gentle curve around a bowl or pile of cookies. Keep grape clusters whole for a natural, flowing look.
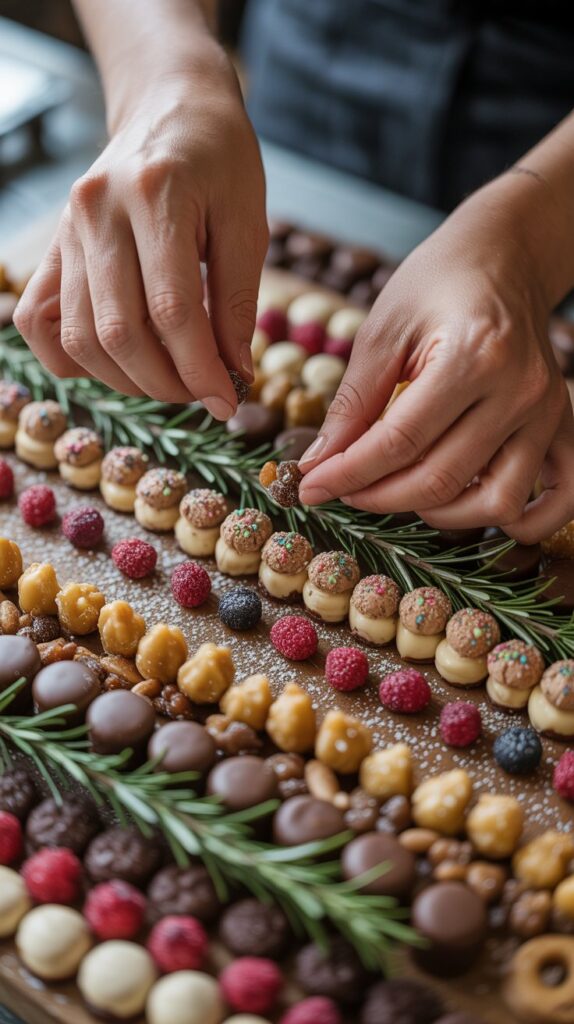
Step 2C: The Fill (The Wow Factor)
This is where the magic happens! You are simply filling in every single empty space left on the board.
- Scattering: Take your smallest items (candied nuts, dried cranberries, tiny candies, and miniature marshmallows) and scatter them into the gaps, corners, and even over the edges of your clusters.
- Garnish: Add one or two fresh rosemary sprigs or a few cleaned mini decorative gourds (not the ones you eat!) for a festive aroma and visual pop.
- Final Flourish: Use a small sieve to dust the entire board (avoiding the fresh fruit) with a light coating of powdered sugar. This finishes the look and hides any last small imperfections.
Beginner’s Golden Rules (Do This, Not That)
| Golden Rule | Actionable Tip for Success |
| Do it Ahead of Time | Prep everything except for the fresh fruit slicing 1-2 days before. Store components in airtight containers. Assemble the board 30 minutes before serving. |
| Keep Fruit Fresh | Immediately after slicing apples/pears, soak them for 5 minutes in a bowl of cold water mixed with a squeeze of lemon juice. Pat dry before arranging. |
| Use Small Tools | Place a few small spoons, mini tongs, or cheese knives on the board. This signals to guests that they should use them and keeps the board clean. |
| Focus on Variety | You don’t need a lot of each item, but you need a variety of flavors (sweet, salty, tart) and textures (creamy, crunchy, chewy). |
📌 Pin This! Dessert Board Checklist
You can take this list right to the grocery store!
- Pies/Cakes: Mini Pie Tarts (3 flavors), Sliced Pumpkin Roll or Pound Cake.
- Dips: Caramel Sauce, Nutella/Cookie Butter, Simple Cream Cheese Mix.
- Crunch: Gingersnaps, Maple Leaf Cookies, Pretzel Rods, Candied Nuts.
- Fresh: Red Grapes, Sliced Apples, Pomegranate Seeds.
- Garnish: Dried Cranberries, Fall Candies, Rosemary Sprigs, Powdered Sugar.
Congratulations! You’ve just mastered the easiest, most elegant Thanksgiving dessert trick in the book. Enjoy the compliments, and more importantly, enjoy your holiday!