The 10-Minute Thanksgiving Dessert Board: A Last-Minute Host’s Sanity Saver
Thanksgiving. It’s a marathon of roasting, mashing, and gravy-making. By the time the turkey is carved and the plates are cleared, the last thing anyone—especially the host—wants to do is fuss over a complicated dessert spread. We all love pie, but who has the oven space or the time for three different types?
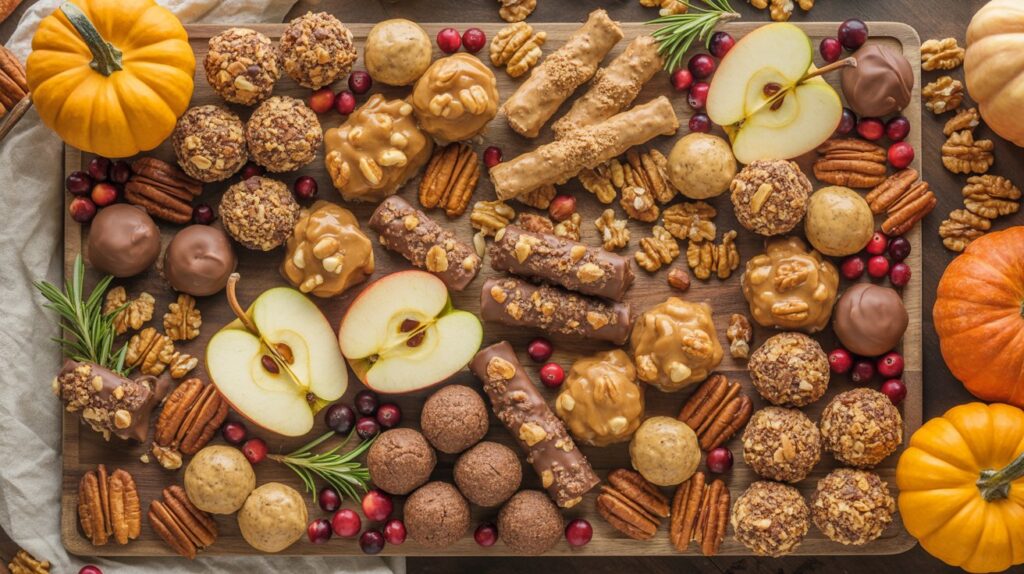
Enter the Thanksgiving Dessert Charcuterie Board.
This isn’t just a dessert; it’s a no-bake, low-stress, high-impact experience that you can pull together in under 10 minutes using mostly store-bought ingredients. It frees up your oven, caters to every palate, and looks absolutely stunning with zero baking effort. Consider it your ultimate hack for a stress-free holiday grand finale.
Why a Dessert Board is Your Thanksgiving Superpower
The Ultimate Time-Saver!
A traditional Thanksgiving dessert menu can take hours of prep and often requires staggering cook times. The dessert board flips the script. By focusing on assembly rather than baking, you transform a potentially chaotic step into a quick, mindful, and enjoyable process. This is for the host who wants to actually enjoy their glass of wine before 9 PM.
Saves Oven Space & Your Sanity
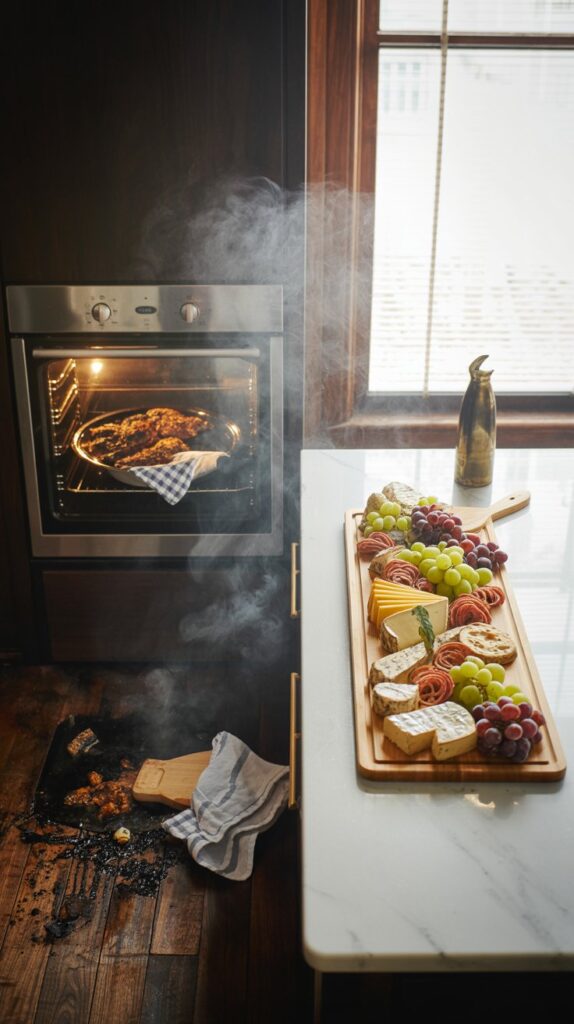
The war for oven space is real. The turkey needs the heat, the casseroles need to stay warm, and the rolls need to toast. When you embrace the no-bake dessert board, you eliminate the need for oven time entirely. That’s more room for your famous stuffing and one less thing to stress about when the clock is ticking.
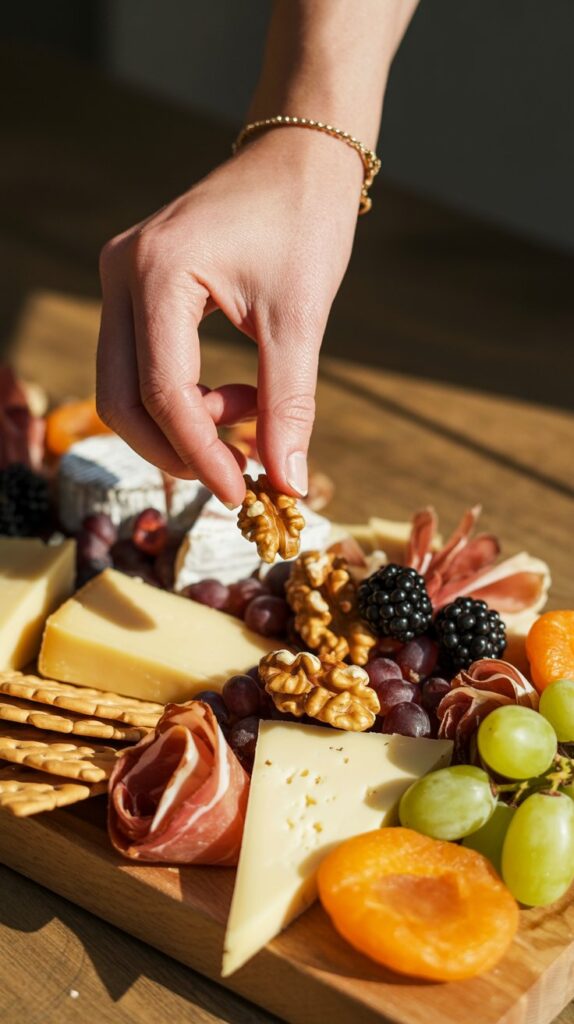
The “Something for Everyone” Solution
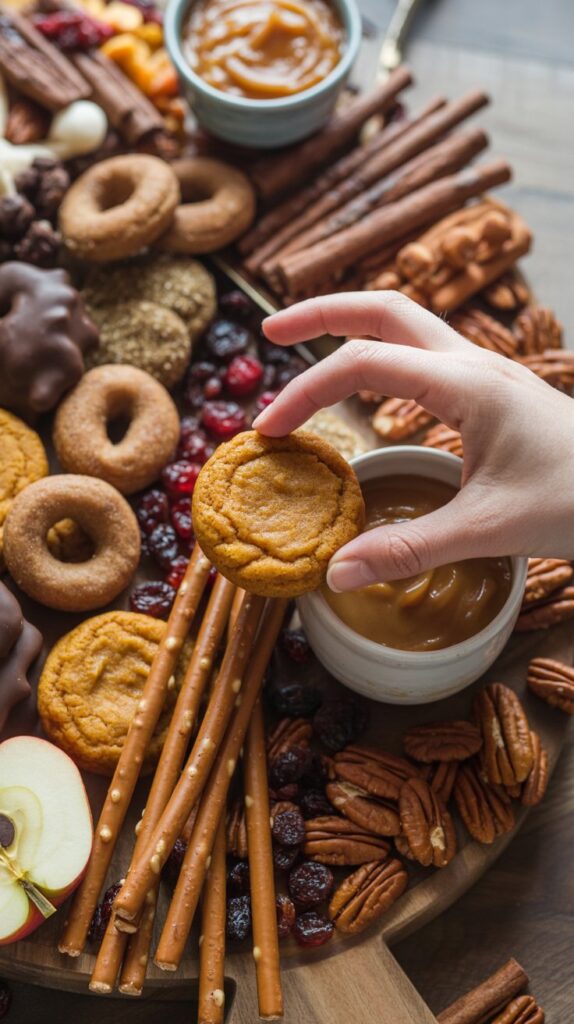
Not every guest loves pecan pie, and that’s okay! A dessert board offers variety. Guests can customize their perfect bite—a gingersnap dipped in pumpkin mousse, a caramel-drizzled pear slice, or just a handful of candied pecans. It’s interactive, fun, and guarantees that every sweet tooth is satisfied.
The 10-Minute Host Shopping List
The secret to speed is smart shopping. Focus on quality, store-bought items in the perfect fall flavors. Your goal is to mix textures (creamy, crunchy, soft) and flavors (sweet, spiced, tart). Use this list to grab everything you need in one quick trip.
| Category | Item | Notes |
| Pillar 1: Dips & Spreads | Cream Cheese (8 oz block) | For the 5-Minute No-Bake Pumpkin Dip |
| Canned Pumpkin Puree & Powdered Sugar | Not pie filling; for the dip | |
| Salted Caramel Sauce | Quality jarred sauce is fine | |
| Whipped Cream (can or tub) | Or a small tub of pre-made cranberry dip/mousse | |
| Pillar 2: Dippers & Scoopers | Gingersnap Cookies | Essential for pairing with pumpkin |
| Shortbread Cookies | Neutral, buttery dippers | |
| Pretzel Crisps or Rods | For the essential salty-sweet contrast | |
| Pillar 3: Fresh & Fruity | Apples (e.g., Honeycrisp, Granny Smith) | Slice and toss with a touch of lemon juice to prevent browning. |
| Red and/or Green Grapes | Clusters add great height | |
| Pomegranate Seeds or Fresh Cranberries | For a tart pop of vibrant color | |
| Pillar 4: Decadent Bites | Maple Leaf Cookies | Look in the seasonal or cookie aisle |
| Mini Pecan or Apple Tarts | Check the bakery section for bite-sized portions | |
| Small Chocolates | E.g., mini peanut butter cups, foil-wrapped candies | |
| Pillar 5: Fillers & Garnishes | Candied Pecans or Walnuts | Buy pre-candied for speed |
| Dried Fruit (Apricots, Figs, or Cranberries) | For chewy texture and rich color | |
| Mini Marshmallows or Candy Corn | Use to fill small gaps | |
| Fresh Rosemary Sprigs | For fragrance and a pop of green garnish |
The 3-Step, 10-Minute Assembly Plan
Forget complex instructions. We are going to assemble this board using three easy steps that guarantee a stunning result in less than 10 minutes.
Step 1: The Foundation (3 Minutes)
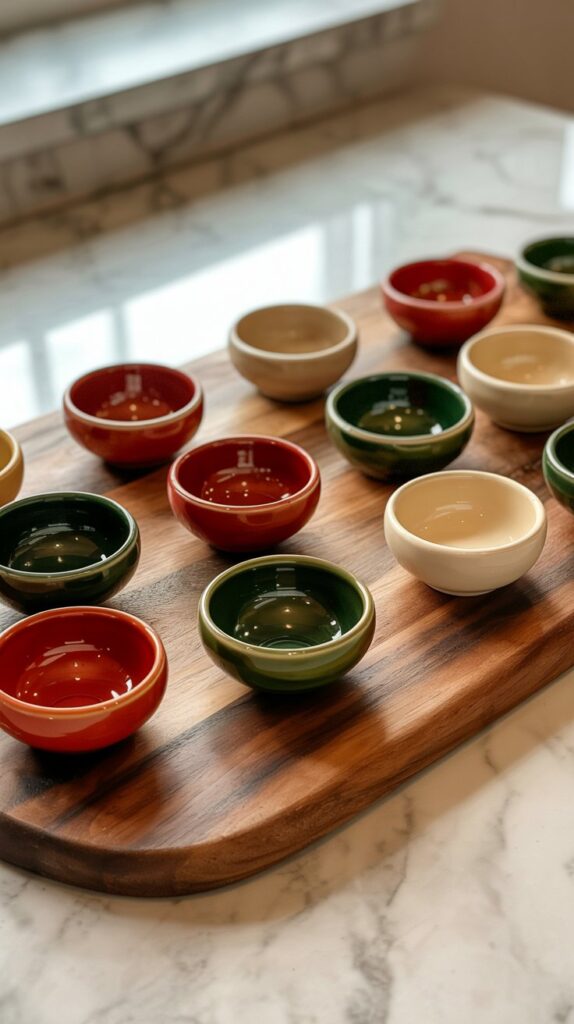
- Choose Your Board: Grab the largest wooden slab, cutting board, or platter you have. Size matters for an abundant look!
- Place Your Anchors: Set down the small bowls of your dips and spreads (Pumpkin Dip, Caramel Dip, Whipped Cream) first. Place them in a visually appealing pattern—usually one in the center and one or two off to the side.
- Place Major Sweets: Arrange the largest store-bought items next, such as your mini tarts or whole clusters of grapes, using the bowls as your starting points.
Step 2: The Flow (5 Minutes)
- Arrange Dippers: Create curved lines and piles of your dippers (cookies, pretzels) fanning them out from the dips. Stack cookies high for maximum impact!
- Fan the Fruit: Slice your apples and pears and fan them out next to a dip they pair well with (like apples next to caramel).
- Mix & Mingle: Scatter your items—put a pile of maple leaf cookies in the top corner and another smaller pile near the bottom. Crucially, don’t leave any space between items. The secret to an amazing board is abundance.
Step 3: Fill Every Single Gap (2 Minutes)
- The Scatter: Take your fillers and garnishes (candied nuts, mini marshmallows, candy corn) and literally pour them into every single remaining empty spot on the board. Let them spill over and around the larger items. This is what makes it look lush and plentiful.
- The Green Pop: Tuck a few small sprigs of fresh rosemary around the edges or near the fruit for a fragrant, beautiful pop of green.
- Add Tools: Place small spoons in the dips and tongs or skewers for the treats.
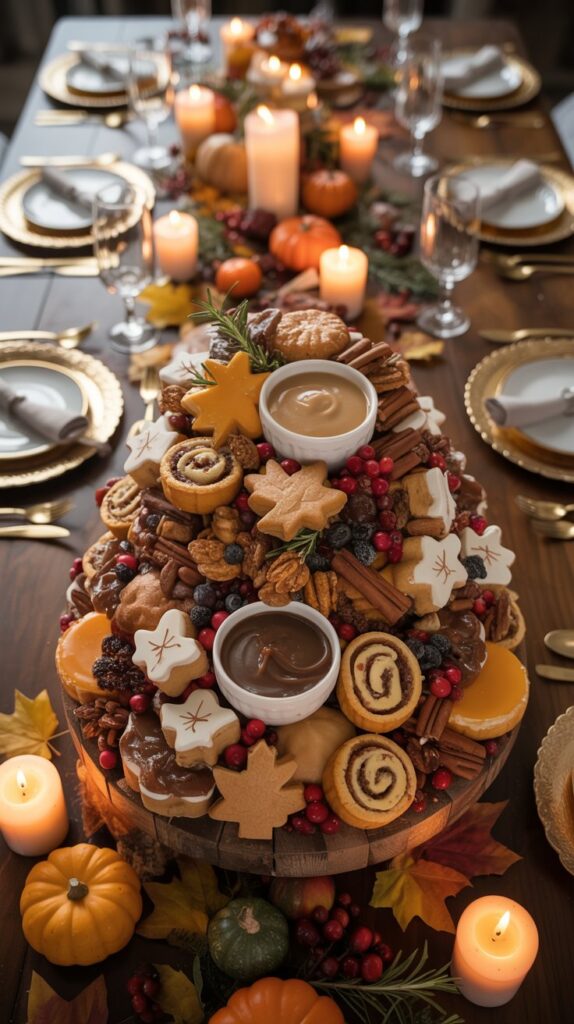
Your Thanksgiving Grand Finale Awaits
And there you have it. You’ve just created a stunning, no-bake, zero-fuss dessert centerpiece in 10 minutes that your guests will talk about all night. You saved the oven, saved your sanity, and delivered a memorable holiday moment. Now go grab a cup of coffee (or a celebratory second glass of wine), and enjoy the beautiful chaos you expertly avoided.