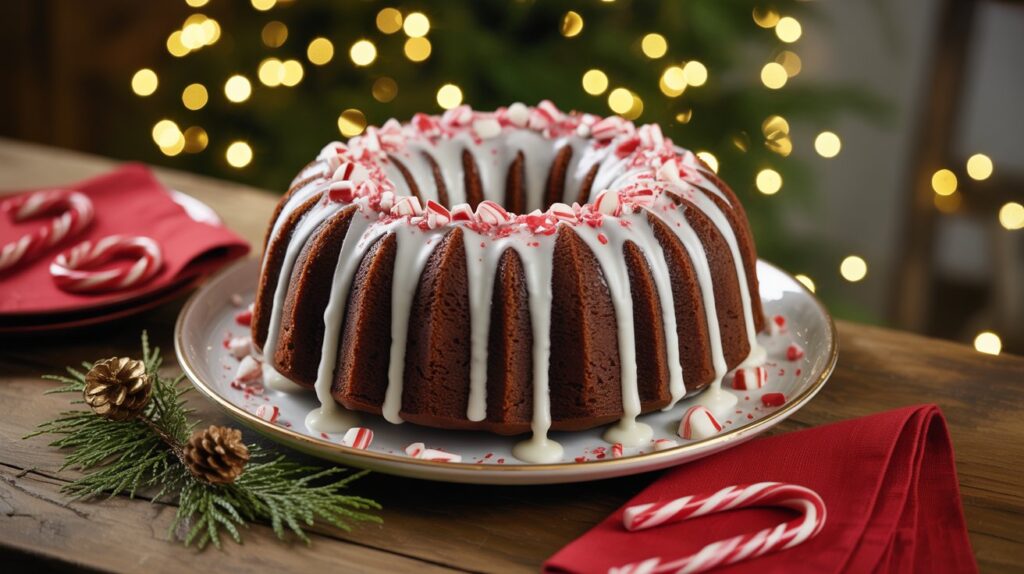
Chocolate Peppermint Bundt Cake Tips and Tricks: From Sticky Pan to Showstopper
You have the recipe. You’ve bought the festive sprinkles. You’re ready to bake that beautiful chocolate peppermint Bundt cake you saw on Pinterest. But a little voice of doubt whispers: What if it sticks to the pan? What if it’s dry? How do I get that perfect swirl and glossy glaze? If you’ve ever faced a Bundt cake that crumbled, stuck, or just didn’t live up to its gorgeous potential, you’re not alone.
Bundt cakes have their own unique set of rules. But once you know them, you unlock the ability to create stunning, foolproof desserts every single time. This guide isn’t just another recipe—it’s your personal playbook of chocolate peppermint Bundt cake tips and tricks. We’re going deep on the techniques that guarantee a moist crumb, a flawless release, and a picture-perfect finish. Consider this your baking insurance policy for the holidays.
The Golden Rule: It All Starts with the Pan
About 90% of Bundt cake stress is related to the pan. Get this right, and you’re halfway to victory.
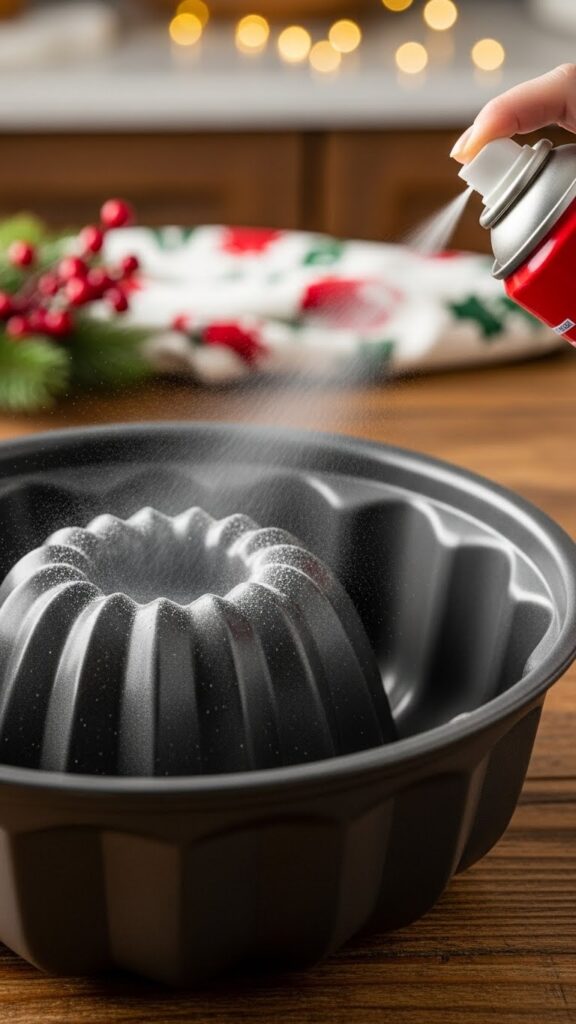
Trick #1: Choose and Prep Your Pan Like a Pro.
- The Pan Matters: A high-quality, heavy-duty non-stick Bundt pan (like Nordic Ware) is worth the investment. Thin pans can cause uneven baking and sticking.
- The ONLY Greasing Method You Need: Forget butter and flour. Use a generous amount of baking spray with flour (like Baker’s Joy or Pam Baking Spray). Spray it cold, getting into every single crevice. Do this right before you pour the batter.
- The Freezer Trick (Next-Level Hack): After greasing, place the empty pan in the freezer for 10 minutes. This sets the fat, creating an even more reliable barrier. Pour your batter into the cold pan and bake immediately.
Mastering the Batter: Secrets for Moisture & Flavor
A dry Bundt cake is a sad cake. These tips ensure yours is supremely moist and flavorful.
Essential Chocolate Peppermint Bundt Cake Tips and Tricks for the Batter
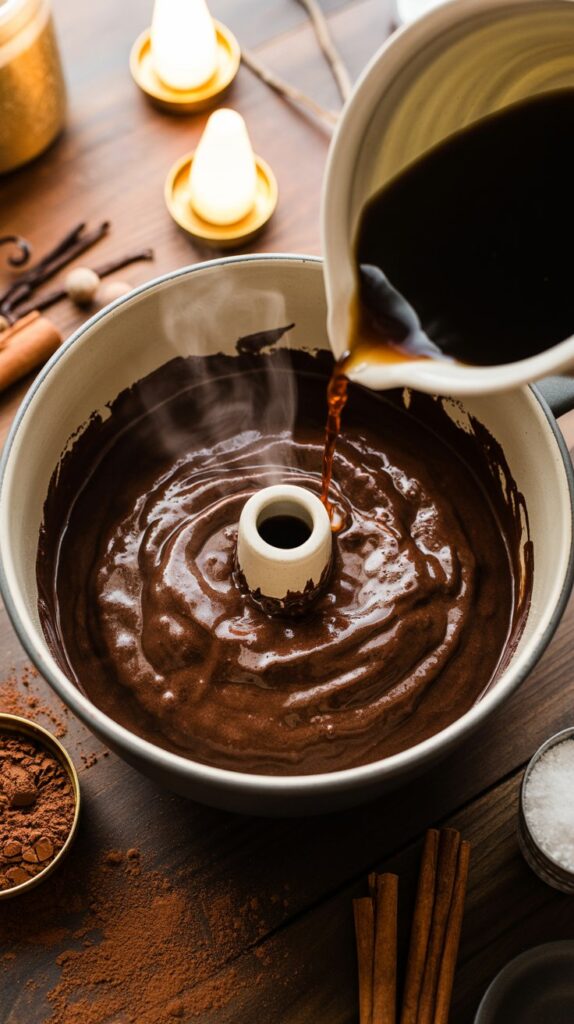
Trick #2: Bloom Your Cocoa.
Most recipes call for hot coffee or water. This isn’t optional! Pouring hot liquid over the cocoa powder “blooms” it, releasing its deepest, most complex chocolate flavor. Your cake will taste richer, not like weak chocolate.
Trick #3: Embrace the Thin Batter.
A proper Bundt cake batter is often quite thin—almost like a heavy pancake batter. Don’t panic and add more flour! This thin consistency is what creates that tender, fine crumb structure that holds the intricate shape of the pan.
Trick #4: The Peppermint Swirl Strategy.
To get a beautiful marbled effect without overmixing:
- Mix peppermint extract into just one portion of the batter (about ⅓ of it).
- Layer: Plain chocolate batter first, then dollops of peppermint batter, then the remaining chocolate batter.
- Use a skewer or thin knife to make only 4-5 wide, swooping passes through the batter. More than that and you’ll muddle the swirl.
Trick #5: Measure Flour Correctly.
The #1 cause of dry, dense cake is too much flour. Always spoon your flour into the measuring cup and level it off with a knife. Never scoop the cup directly into the bag—this packs in up to 25% more flour!
Want a perfectly measured bake every time? I’ve moved to using a digital kitchen scale. It’s the single best tool for baking accuracy.
[Check out the affordable, reliable kitchen scale I use for all my baking projects.]
The Bake & The Flip: Critical Stages
This is where confidence is key.
Trick #6: Don’t Trust the Timer Alone.
Ovens vary. Start checking for doneness 5 minutes before the recipe suggests. The cake is done when:
- The edges pull slightly away from the pan.
- The top springs back when lightly touched.
- Most Importantly: A toothpick or skewer inserted near the center comes out with a few moist crumbs attached, not completely clean. A clean toothpick often means overbaked.
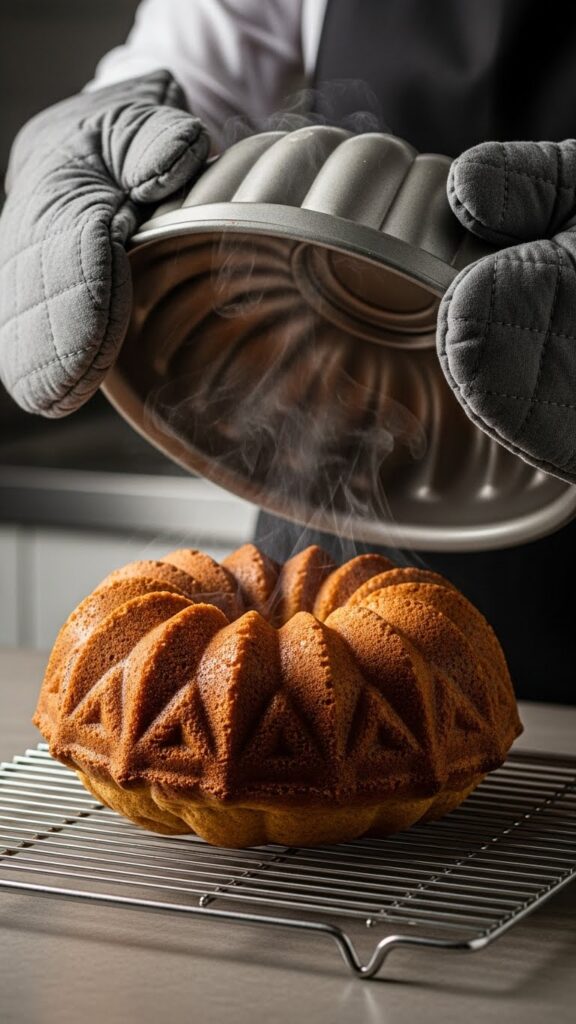
Trick #7: The Cooling Ritual (Non-Negotiable!).
- Let the cake cool in the pan on a wire rack for 25-30 minutes exactly. This allows it to set and firm up its structure.
- After 30 minutes, place the cooling rack upside-down on top of the pan. Wearing oven mitts, flip the whole assembly over in one confident motion.
- Gently jiggle and lift the pan. If you prepped well, it should release with a satisfying plop. If it resists, let it sit inverted for another 5-10 minutes—the steam can help release it.
Glazing & Decorating Like a Pastry Chef
Presentation is everything with a Bundt cake.
H2: Finishing Touches: Glaze and Decoration Tips and Tricks
Trick #8: Cool Completely Before Glazing.
Glazing a warm cake is the fastest way to a melted, soggy mess. Let the cake cool to room temperature on the rack. For speed, you can even pop it in the fridge for 30 minutes.
Trick #9: Master the Glaze Consistency.
Your glaze should be thick but pourable—like heavy cream or warm honey.
- Too Thick: It will clump and won’t drizzle nicely.
- Too Thin: It will be translucent and run right off the cake.
- The Fix: Always start with less liquid. For 1 ½ cups of powdered sugar, begin with 2 tablespoons of milk or cream. Add more liquid ½ teaspoon at a time until it ribbons off your whisk.
Trick #10: Apply Crushed Candy Strategically.
For the prettiest look with the best crunch:
- Drizzle your glaze over the cooled cake.
- Immediately sprinkle the crushed peppermint candy while the glaze is wet. This makes it stick.
- For extra sparkle, reserve a little of the finest candy “dust” to sprinkle on top of the larger pieces.
Trick #11: The Transport Secret.
Taking this cake to a party? Let the glaze set completely (about 1 hour). Then, place large toothpicks or lollipop sticks in four points around the cake. Gently tent a large piece of plastic wrap over the sticks, creating a dome that won’t touch the glaze. Secure the wrap underneath the cake board or plate.
Troubleshooting: Fixes for Common Disasters
- “My cake stuck!” Don’t force it. Let it cool longer upside down. For stubborn spots, gently insert a thin, flexible silicone spatula to loosen. Patch any blemishes with extra glaze and candy—it’ll taste the same!
- “It’s dry.” Next time, try substituting ½ cup of sour cream or full-fat Greek yogurt for ½ cup of the milk in your recipe. The fat and acidity work wonders for moisture.
- “The swirl disappeared!” You likely over-mixed. Remember, less is more with the knife swirl.
- “The candy topping got soft.” For maximum crunch, add the candy topping just before serving, not hours in advance.
🔥 Recommended Baking & Kitchen Essentials
Here are a few of my favorite tools that make baking (and biscuit-making!) easier, faster, and way more fun.
1. BLACK+DECKER Crisp ’N Bake Air Fry Toaster Oven
Crisps, toasts, bakes, and air fries — all in one compact countertop oven. Perfect for quick biscuits, snacks, and weeknight cooking.
👉Check it out on Amazon2. CHEFMAN Digital Air Fryer + Rotisserie (XL 10L)
A true all-in-one appliance — air fry, roast, bake, dehydrate, and rotisserie family-size meals with ease.
👉See today’s price on Amazon3. 5-Piece Pastry & Biscuit Cutter Set
Everything you need for perfect biscuits: stainless-steel cutters, dough scraper, pastry blender, and a baking mat — beginner friendly and super durable.
👉Grab it on Amazon4. Nordic Ware Naturals Aluminum Half Sheet Pans (2-Pack)
Professional-quality sheet pans that brown beautifully, never warp, and last a lifetime — essential for any baking lover.
👉View it on Amazon5. Amazon Basics Nonstick 12-Cup Muffin Pans (Set of 2)
Reliable nonstick pans for muffins, cupcakes, egg bites, and more — even heating, easy cleanup, and great value.
👉Get it on Amazon6. Stand Mixer (5–6 Quart)
Makes mixing doughs and batters effortless during holiday baking.
👉Grab it here on AmazonDisclosure:
As an Amazon Associate, I earn from qualifying purchases. This means if you click on one of the product links and make a purchase, I may receive a small commission at no extra cost to you. I only recommend products I personally use and love.
Frequently Asked Questions (FAQs)
Q: Can I make this cake ahead of time?
A: Absolutely, and it often tastes better! Bake and cool the cake completely. Wrap it tightly in plastic wrap (unglazed) and store at room temperature for 1 day or freeze for up to 2 months. Glaze and decorate the day you plan to serve it.
Q: What’s the difference between peppermint and mint extract?
A: Peppermint extract is made from peppermint oil and gives that classic, cool candy cane flavor. Mint extract is often made from spearmint and tastes more like gum or toothpaste. Always use pure peppermint extract for this cake.
Q: Can I use a different type of pan?
A: You can use a 9×13 sheet pan or two 8-inch rounds, but you’ll lose the Bundt shape. Adjust baking time (start checking at 25-30 minutes for layers).
Q: How do I store the finished cake?
A: Store it loosely covered with a cake dome or overturned bowl at room temperature for up to 3 days. The glaze will keep it moist.

Conclusion: Bake with Confidence, Impress with Ease
Mastering these chocolate peppermint Bundt cake tips and tricks transforms the experience from stressful to supremely satisfying. You’ve learned that the journey to a perfect cake is paved with smart prep (the right pan spray, the freezer hack), patient technique (the thin batter, the critical cooling period), and simple, strategic finishing (the perfect glaze consistency, the timely sprinkle). This knowledge empowers you to not just follow a recipe, but to understand the why behind each step.
You now have the tools and confidence to create a stunning, moist, and delicious centerpiece dessert that’s as fun to make as it is to share. It’s time to preheat your oven and bake your best Bundt yet.