So, you’re staring into the abyss of your pantry, craving something warm, buttery, and carby, but your motivation to cook is hovering somewhere around zero? Same. The siren song of a complicated recipe is a trap, my friend. You don’t need a culinary degree or a pantry that looks like a grocery store aisle. You just need this. Welcome to the glorious, life-altering world of 3-Ingredient Biscuits. Yes, you read that right. Three. Not thirty. Let’s get this show on the road.
Why This Recipe is Awesome
Let’s cut to the chase. This recipe is the culinary equivalent of a superhero landing. It’s:
- Idiot-Proof: I’ve made these while half-asleep and slightly distracted by a true crime documentary. They still turned out fantastic. If I can’t mess it up, you definitely can’t.
- Speed Demon: From “I want a biscuit” to “I am eating a biscuit” in under 20 minutes. It’s faster than ordering takeout and infinitely more satisfying.
- Pantry Raid Friendly: The ingredient list is so short, you probably have everything you need right now. No fancy, unpronounceable ingredients required.
- The Ultimate Ego Boost: Serve these to anyone and watch their eyes light up. They’ll think you’re a baking wizard. Your secret is safe with me.
Ingredients You’ll Need
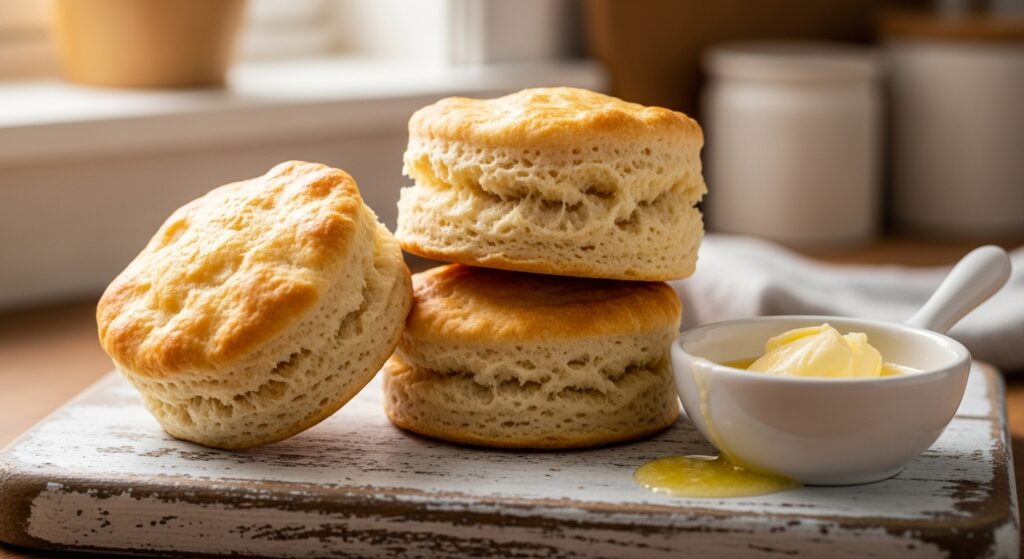
Gather ’round, folks. Here’s the holy trinity of biscuit perfection. No sacrifices required.
- 2 cups Self-Rising Flour (plus a little extra for dusting): This is the MVP. It already has the baking powder and salt mixed in, which is the entire reason this recipe works. If you try to use all-purpose flour and wing it, we cannot be held responsible for the hockey pucks that emerge from your oven.
- 1 cup Heavy Cream (the good stuff): This is your fat AND your liquid. Its rich, luxurious fat content is what creates that tender, flaky crumb. Don’t even think about skimping.
- ½ cup (1 stick) Cold Butter, cubed: I said COLD. We’re not looking for room-temperature, spreadable butter here. We want it fresh-from-the-fridge, “I can’t believe it’s not a rock” cold. This is non-negotiable for flakiness.
Step-by-Step Instructions
Ready? This is the hard part. Try to keep up.
- Preheat and Prep. Crank your oven to a toasty 450°F (230°C). Line a baking sheet with a little parchment paper. This is your one “fancy” step, and it’s just to save you from scrubbing later. You’re welcome.
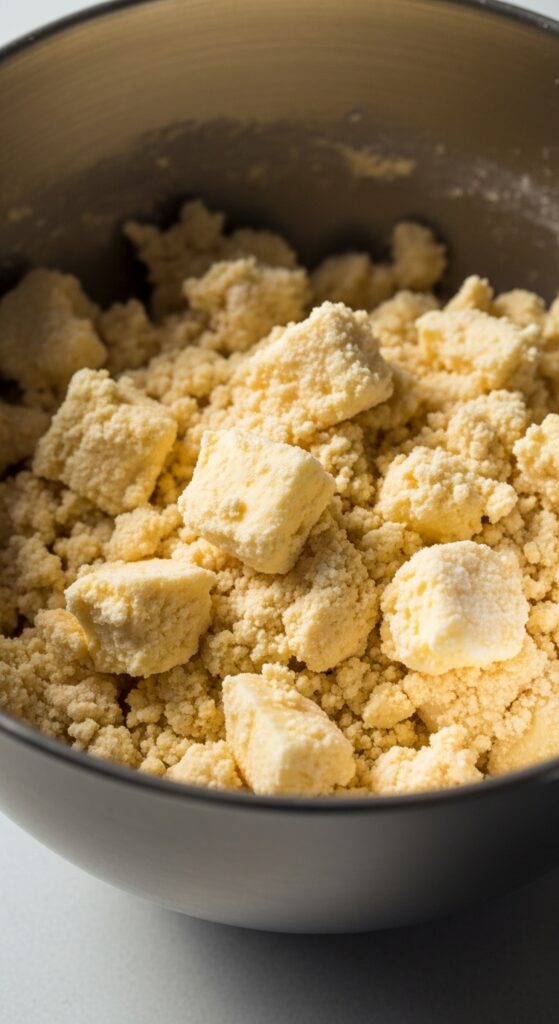
- Combine the Dry and Fat. Dump your 2 cups of self-rising flour into a medium-sized bowl. Toss in those tiny, cold cubes of butter. Now, using your fingers, a pastry cutter, or two forks, work the butter into the flour until the mixture looks like coarse, crumbly sand with a few pea-sized butter lumps still hanging out. Those butter lumps are your future flaky layers. Protect them at all costs.
- Add the Liquid Gold. Pour in the 1 cup of heavy cream. Gently stir with a fork until a shaggy, slightly sticky dough just barely comes together. Do NOT overmix. I repeat, DO NOT overmix. This isn’t bread dough; you’re not trying to develop gluten. You’re just politely asking the ingredients to get acquainted.
- Shape and Cut. Dump the dough onto a lightly floured surface. Gently pat it into a 1-inch thick rectangle or circle. Fold it over onto itself, and pat it down again. Do this one more time. (This folding = more layers. Science!). Finally, pat it out to about ¾-inch thickness. Use a glass, a cookie cutter, or even just a knife to cut your biscuits. Press straight down—no twisting!
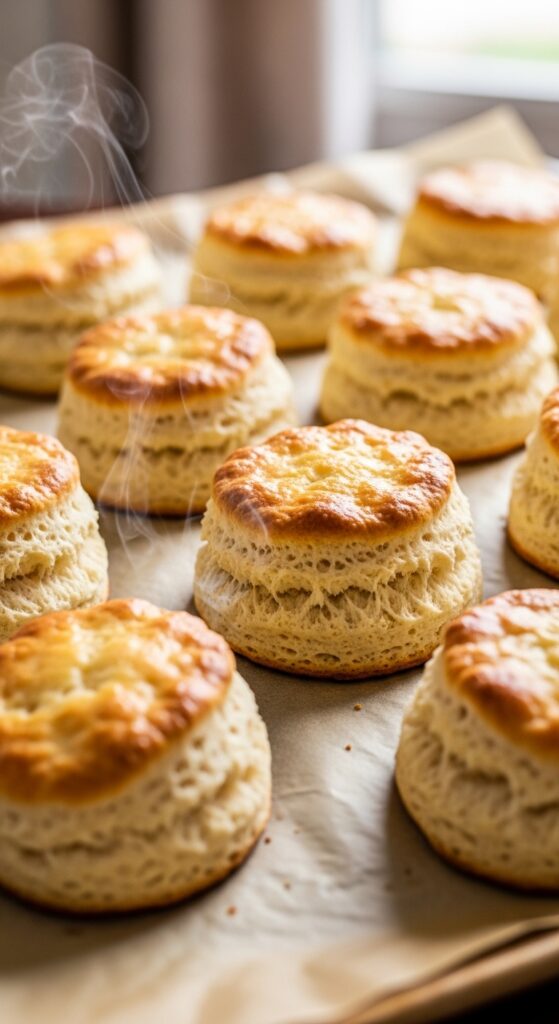
- Bake to Perfection. Place your beautiful biscuit pucks on the prepared baking sheet, their sides lightly touching. This helps them climb upwards instead of spreading outwards. Bake for 10-12 minutes, until they’re gloriously golden brown on top. Your kitchen will smell like heaven.
Common Mistakes to Avoid
Let’s learn from the hypothetical failures of others, shall we?
- Using Warm Butter: If your butter melts before it hits the oven, your biscuits will be sad and flat. Cold butter creates steam as it bakes, which pushes the layers apart. Keep it frigid.
- Overworking the Dough: You are not kneading dough for a bodybuilding competition. The more you handle it, the tougher your biscuits will be. Mix until just combined, then walk away.
- Twisting the Cutter: When you cut the biscuits, press straight down. Twisting seals the edges and prevents them from rising to their full, fluffy potential. It’s a biscuit, not a bottle cap.
- Thinking You Don’t Need to Preheat: The initial blast of heat is what makes them puff up. Putting them in a cold oven is a one-way ticket to Denseville.
Alternatives & Substitutions
Okay, so you’re feeling a little fancy? Or maybe you’re out of one thing? Here are your options.
- No Self-Rising Flour? For every 1 cup of all-purpose flour, add 1 ½ teaspoons of baking powder and ¼ teaspoon of salt. Mix well before adding the butter.
- Out of Heavy Cream? You can use full-fat Greek yogurt or buttermilk. The texture will be slightly different—a bit more tangy and dense—but still delicious.
- Add-In Ideas: Once you’ve mastered the basic recipe, go wild. Gently fold in a handful of shredded cheddar cheese and some chopped chives. Or a tablespoon of sugar and some blueberries for a shortcake situation. The world is your biscuit.
FAQ (Frequently Asked Questions)
- “Can I use margarine instead of butter?” Technically, yes. But why would you want to? The flavor and flakiness from real butter are unparalleled. IMO, don’t do it.
- “My dough is super sticky! What do I do?” Don’t panic! Just add a light dusting of flour to your hands and the work surface. A little sticky is good; a lot of sticky is fixable.
- “Can I make these ahead of time?” You can mix the dry ingredients and cut the butter in ahead of time, keeping it in the fridge. But for the best rise, mix in the cream and bake them right before you want to eat them.
- “Why didn’t my biscuits rise?” Did you use self-rising flour? Was it fresh? Was your butter cold? Did you overmix? Did you twist the cutter? Go through the checklist, detective. We’ll get ’em next time.
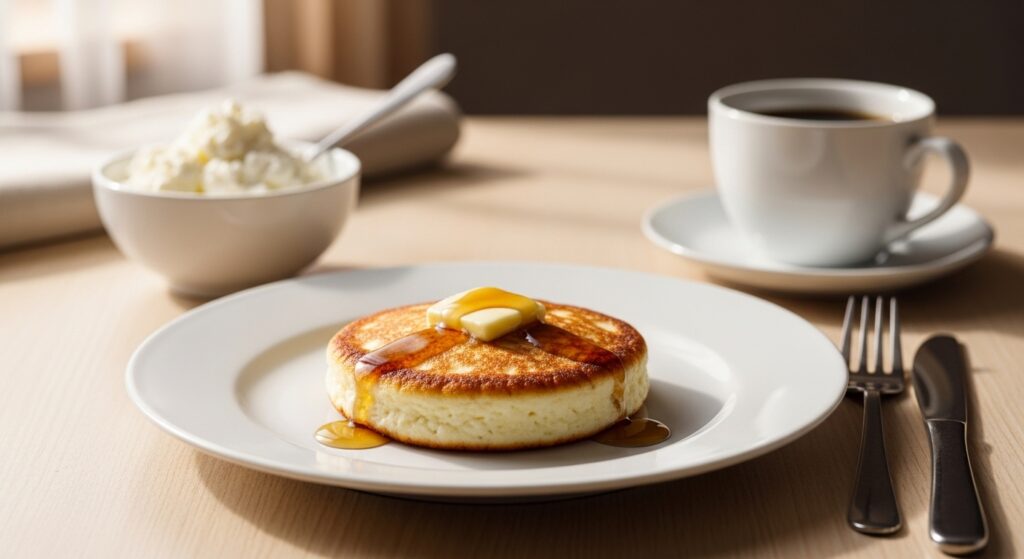
- “What’s the best way to eat these?” However you darn well please! Slathered with more butter and honey, as a vehicle for sausage gravy, or as the top to a killer pot pie. There are no wrong answers.
🔥Recommended Slow Cooker Essentials
Here are a few of my favorite slow cooker essentials that make crockpot cooking easier, faster, and way more fun.
- Crock-Pot 8-Quart Programmable Slow Cooker
Perfect for big families or meal prepping — set it, forget it, and come home to tender, juicy meals every time.
👉 Check it out on Amazon - Hamilton Beach 8-Quart Programmable Slow Cooker
Reliable, easy-to-use, and keeps food warm automatically — ideal for busy weeknights.
👉 See today’s price on Amazon - Ninja Foodi PossibleCooker PRO (8-in-1 Multi-Cooker)
Slow cook, sauté, roast, and more — one appliance that does it all for your crockpot dinners.
👉 View it on Amazon - Silicone Slow Cooker Divider Insert
Cook two different meals at once — perfect for picky eaters or meal prep variety.
👉 Grab it on Amazon - Fix-It and Forget-It Slow Cooker Chicken Recipes Cookbook
Packed with easy, flavorful slow cooker chicken ideas your family will love.
👉 Get the cookbook on Amazon
Disclosure: As an Amazon Associate, I earn from qualifying purchases.
This means if you click on one of the product links and make a purchase,
I may receive a small commission at no extra cost to you.
I only recommend products I personally use and love.
Final Thoughts
Look at you, you magnificent baker, you. You’ve just created something delicious, impressive, and soul-warming with three simple ingredients and zero fuss. This recipe is a keeper, a lifesaver for lazy mornings, last-minute guests, or just because-you-deserve-it Tuesdays.
Now go forth and enjoy the fruits of your (minimal) labor. You’ve earned that buttery, flaky, glorious bite.