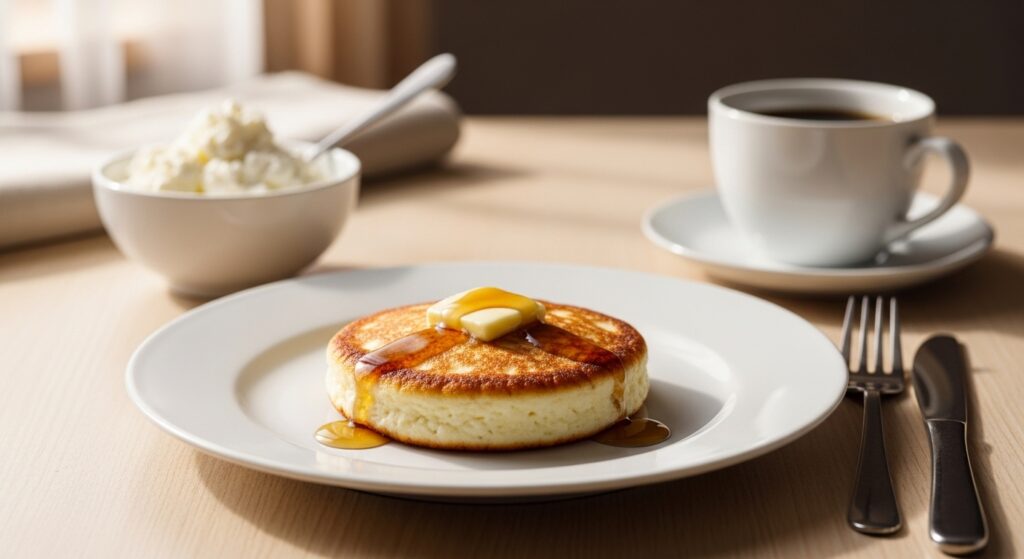
The Lazy Cook’s Guide to 3-Ingredient Crisco Biscuits
So, you’re craving something warm, flaky, and buttery, but the thought of cutting cold butter into flour makes you want to take a nap? Same. What if I told you the fluffiest, most tender biscuits of your life require zero butter-chilling, zero fancy techniques, and just three simple ingredients? Grab that tub of Crisco from the back of your pantry. It’s about to become your biscuit-making best friend.
Why This Recipe is Awesome
Let’s cut to the chase. This recipe is the ultimate kitchen shortcut. It’s:
- Impossibly Easy: No waiting for butter to get cold. No worrying about overworking the fat. Crisco is always at the perfect “temperature” for biscuits straight from the pantry. It’s idiot-proof.
- Unbelievably Tender: The high melting point of vegetable shortening creates steam pockets that result in an incredibly light, fluffy, and tender crumb. They practically melt in your mouth.
- The Pantry Savior: You probably have these ingredients right now. This is the recipe for when a grocery run feels like a monumental task.
- Your Grandma’s Secret: This is old-school, no-fuss baking at its finest. It’s the recipe your grandma probably used, and for good reason—it just works.
Ingredients You’ll Need
Take a deep breath. This is the whole, terrifyingly simple list.
- 2 cups Self-Rising Flour: This is the non-negotiable backbone. It already has the baking powder and salt mixed in. If you use all-purpose flour, you will get flat, sad pucks. Don’t say I didn’t warn you.
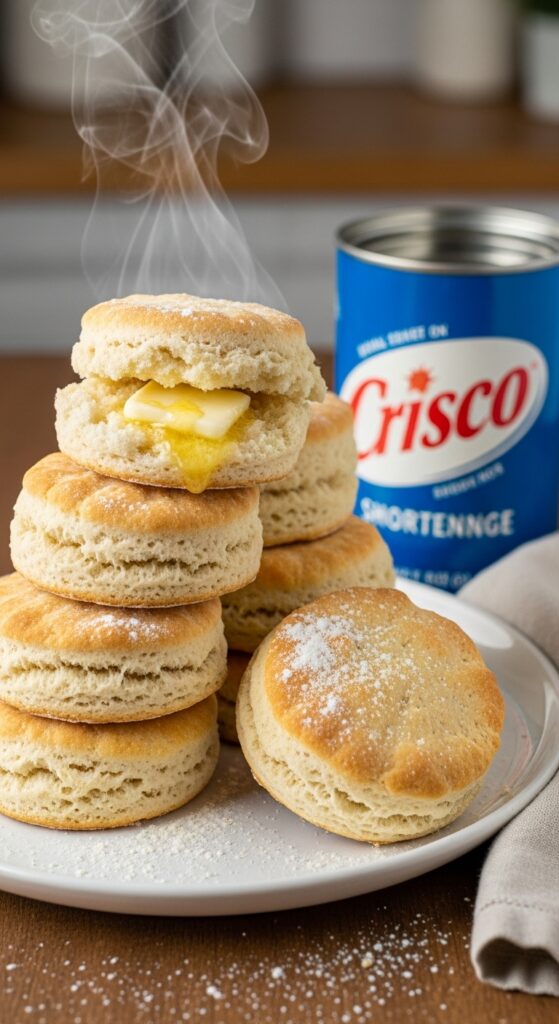
- ½ cup Crisco Vegetable Shortening: This is your star player. Its ability to create flaky layers without being ice-cold is nothing short of magical.
- ¾ cup Cold Milk (any kind): The liquid that brings it all together. The colder, the better for maximizing flakiness.
Step-by-Step Instructions
If you can stir and pat, you are overqualified for this job.
- Preheat and Prep. Crank your oven to a hot 450°F (230°C). This blast of heat is crucial for the rise. Line a baking sheet with parchment paper.
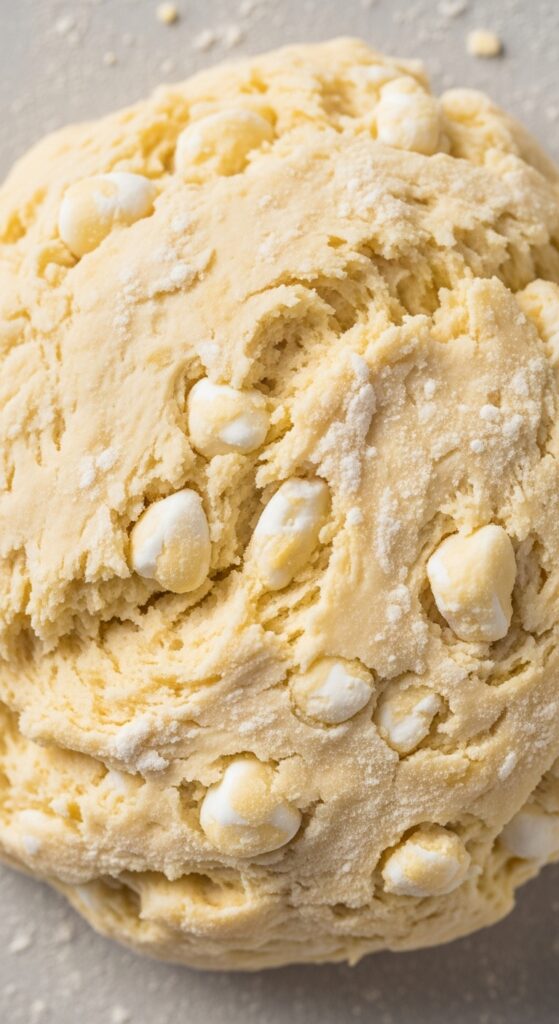
- Cut in the Shortening. In a medium bowl, add your self-rising flour. Plop the Crisco right on top. Using a pastry cutter, two forks, or your fingers, work the shortening into the flour until the mixture resembles coarse crumbs with a few pea-sized bits.
- Add the Milk. Make a well in the center of your flour mixture and pour in the cold milk. Gently stir with a fork until a shaggy, slightly sticky dough just comes together. Stop mixing the second there are no dry flour patches. Overmixing is the enemy of tenderness.
- Shape and Cut. Turn the dough out onto a lightly floured surface. Gently pat it into a ¾-inch to 1-inch thick rectangle. Fold it in half, then pat it down again. Repeat this once more to build layers! Cut with a floured glass or biscuit cutter—press straight down, no twisting!
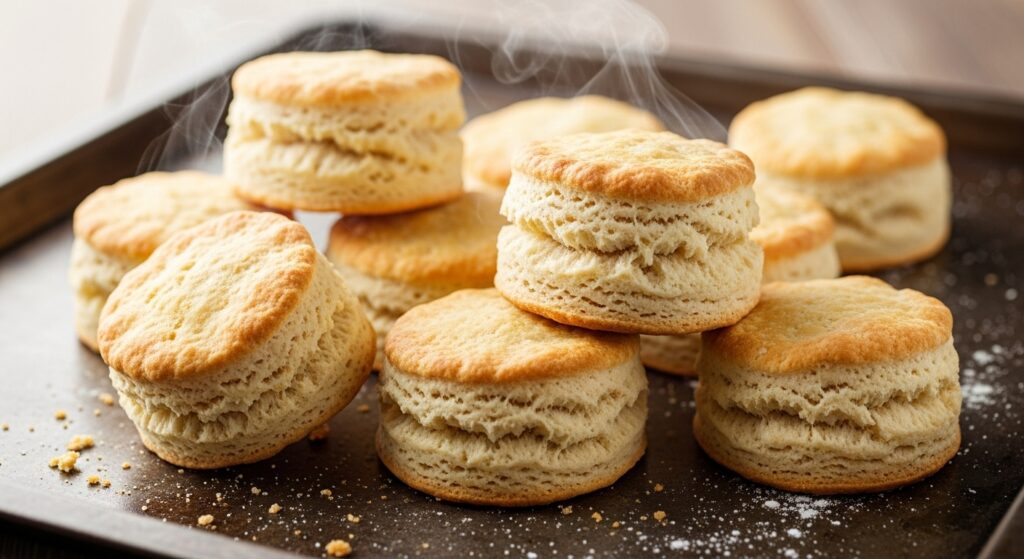
- Bake to Flaky Perfection. Place the biscuits on your prepared sheet, their sides lightly touching. This helps them climb upwards. Bake for 10-12 minutes until they are puffed and beautifully golden brown.
Common Mistakes to Avoid
Let’s learn from the (totally hypothetical) mistakes of others.
- Overworking the Dough: You are not kneading bread! You are just encouraging the ingredients to cohabitate. The more you handle it, the tougher your biscuits will be. Lumps are better than toughness.
- The Twister: Twisting the cutter seals the edges of the dough, preventing the biscuits from rising to their full, fluffy potential. Be decisive. Press straight down and lift straight up.
- Using a Liquid Cup for Flour: If you scoop your flour directly from the bag with a liquid measuring cup, you’ll pack in way too much. This leads to dry biscuits. Use the “spoon and level” method.
- The Impatience Tax: Not preheating your oven is like asking your biscuits to run a marathon without warming up. They’ll just give up and be dense. Let the oven get properly hot.
Alternatives & Substitutions
Got an idea? Or are you missing an ingredient? Let’s play.
- No Self-Rising Flour? For every 1 cup of all-purpose flour, add 1 ½ teaspoons of baking powder and ¼ teaspoon of salt. Whisk it together well first.
- Buttermilk for Tang: Swap the milk for cold buttermilk. The acid makes for an even more tender crumb and a lovely tangy flavor.
- Add-In City: Once you’ve got the base down, go wild! Gently fold in shredded cheddar cheese, cooked crumbled bacon, or chopped herbs after you add the milk.
- Sweet Treat: Add two tablespoons of sugar to the flour for a slightly sweet biscuit, perfect for shortcake.
FAQ (Frequently Asked Questions)
- “Can I use butter instead of Crisco?” Well, technically yes. But you’ll lose the foolproof, always-tender quality that makes this recipe so special. Butter can be finicky; Crisco is reliable. IMO, for this specific recipe, stick with the shortcut.
- “My dough is too sticky!” Fantastic! That means you didn’t overwork it. Just use a little more flour on your hands and the surface. A sticky dough is a tender biscuit.
- “Can I make these ahead of time?” You can mix the dry ingredients and cut in the Crisco ahead of time. Keep it in the fridge. But for the best rise, add the milk and bake them right before serving.
- “Why are my biscuits dry?” You probably added too much flour or overbaked them. Measure your flour correctly (spoon and level!) and set a timer.
- “Do they taste like Crisco?” Nope! The flavor bakes out, leaving you with a wonderfully neutral, buttery-tasting canvas that’s perfect for gravy, jam, or just eating plain.
🔥 Recommended Baking & Kitchen Essentials
Here are a few of my favorite tools that make baking (and biscuit-making!) easier, faster, and way more fun.
1. BLACK+DECKER Crisp ’N Bake Air Fry Toaster Oven
Crisps, toasts, bakes, and air fries — all in one compact countertop oven. Perfect for quick biscuits, snacks, and weeknight cooking.
👉 Check it out on Amazon
2. CHEFMAN Digital Air Fryer + Rotisserie (XL 10L)
A true all-in-one appliance — air fry, roast, bake, dehydrate, and rotisserie family-size meals with ease.
👉 See today’s price on Amazon
3. 5-Piece Pastry & Biscuit Cutter Set
Everything you need for perfect biscuits: stainless-steel cutters, dough scraper, pastry blender, and a baking mat — beginner friendly and super durable.
👉 Grab it on Amazon
4. Nordic Ware Naturals Aluminum Half Sheet Pans (2-Pack)
Professional-quality sheet pans that brown beautifully, never warp, and last a lifetime — essential for any baking lover.
👉 View it on Amazon
5. Amazon Basics Nonstick 12-Cup Muffin Pans (Set of 2)
Reliable nonstick pans for muffins, cupcakes, egg bites, and more — even heating, easy cleanup, and great value.
👉 Get it on Amazon
6. Stand Mixer (5–6 Quart)
Makes mixing doughs and batters effortless during holiday baking.
👉 Grab it here on Amazon
Disclosure:
As an Amazon Associate, I earn from qualifying purchases. This means if you click on one of the product links and make a purchase, I may receive a small commission at no extra cost to you. I only recommend products I personally use and love.
Final Thoughts
And there you have it. You’ve just unlocked a secret level of easy baking, all thanks to a simple tub of shortening. No fuss, no fear of warm butter, just pure, flaky, delicious results.
Now, go forth and enjoy the warm, fluffy fruits of your (minimal) labor. Slather them in honey, drown them in gravy, or just eat them straight from the pan. You’ve earned every single bite.